Behind the Redesign

BTR: A Growing Family in Cole Valley (Part 2)

IMG_4798.jpg

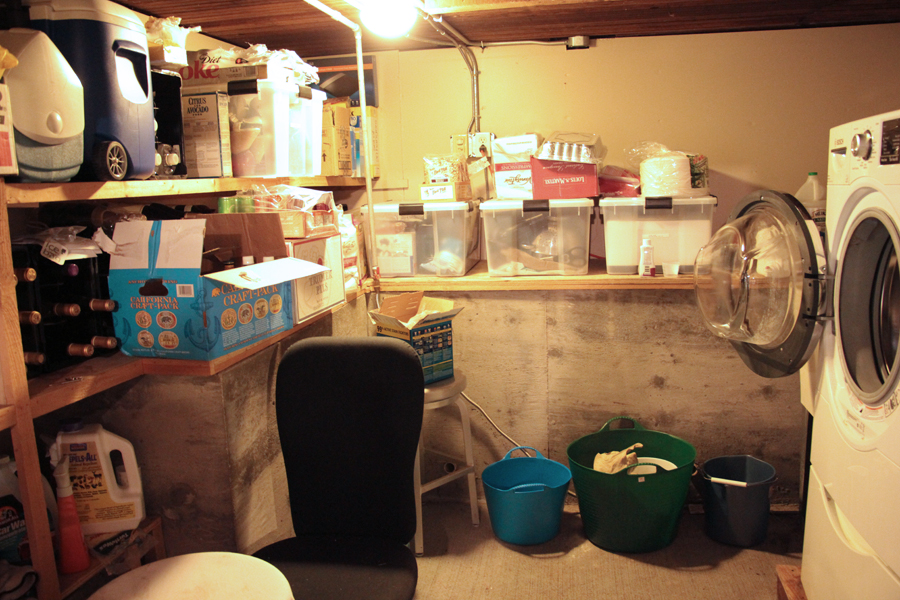
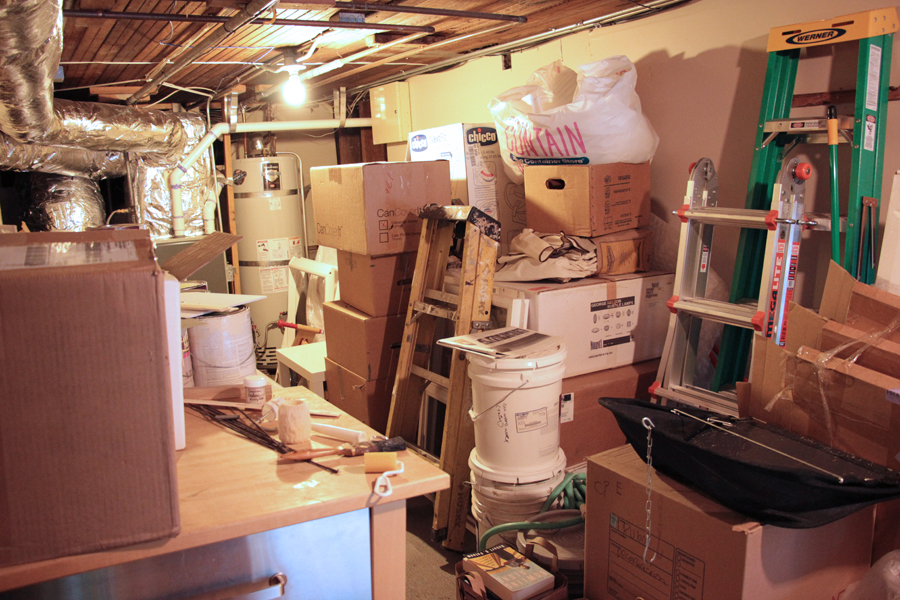
Welcome to Part 2 of the Behind the Redesign for a wonderful family in the quaint San Francisco neighborhood of Cole Valley.  New Minimalism was called in to make room for the newest member of the family, and what was standing in the way of this goal was a lot of stuff.  

If you recall from Part 1, during our first session we tackled decluttering the garage to make space for the home office.    On the second session, which we are sharing today, we decluttered the contents of the home office to make room for the nursery.  These photos share the after after, once the nursery furniture had been thoughtfully acquired and decorations installed.  All after after photos are by the talented and all around wonderful Ryan Devisser.

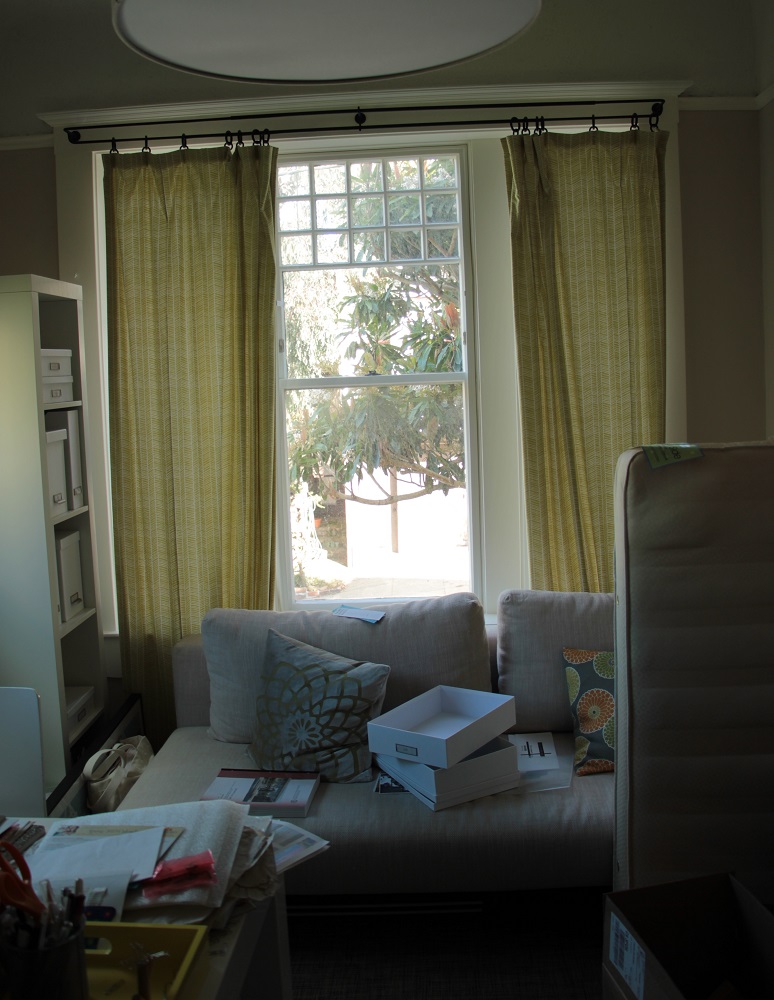
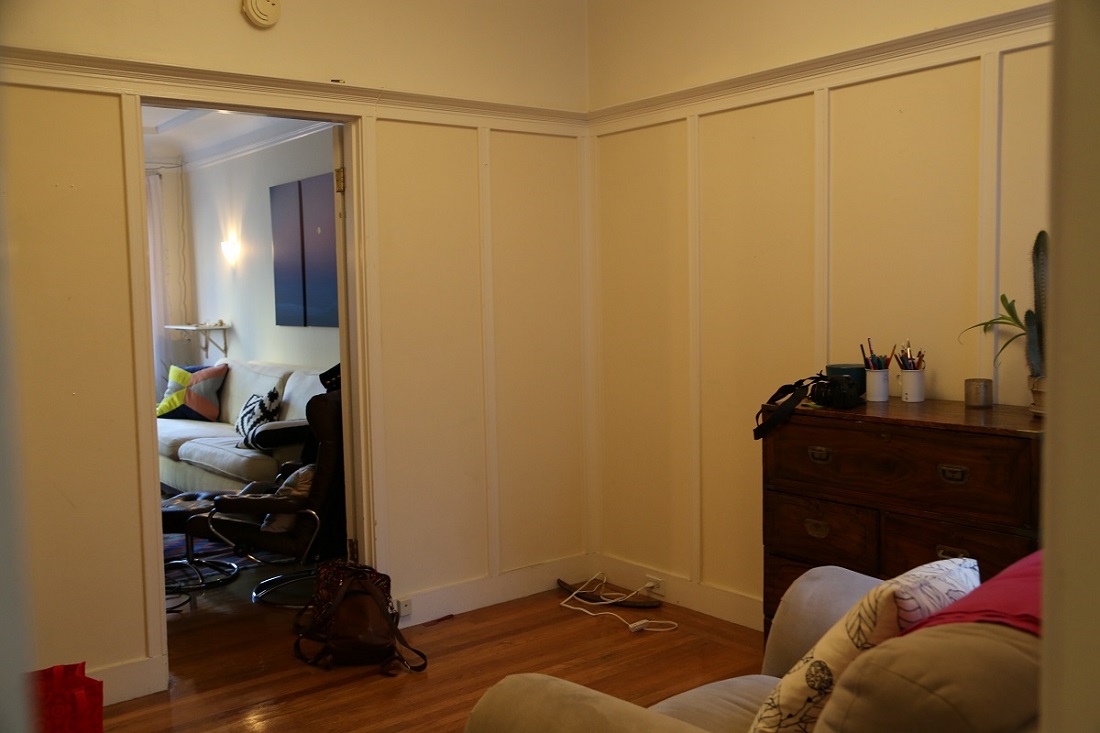
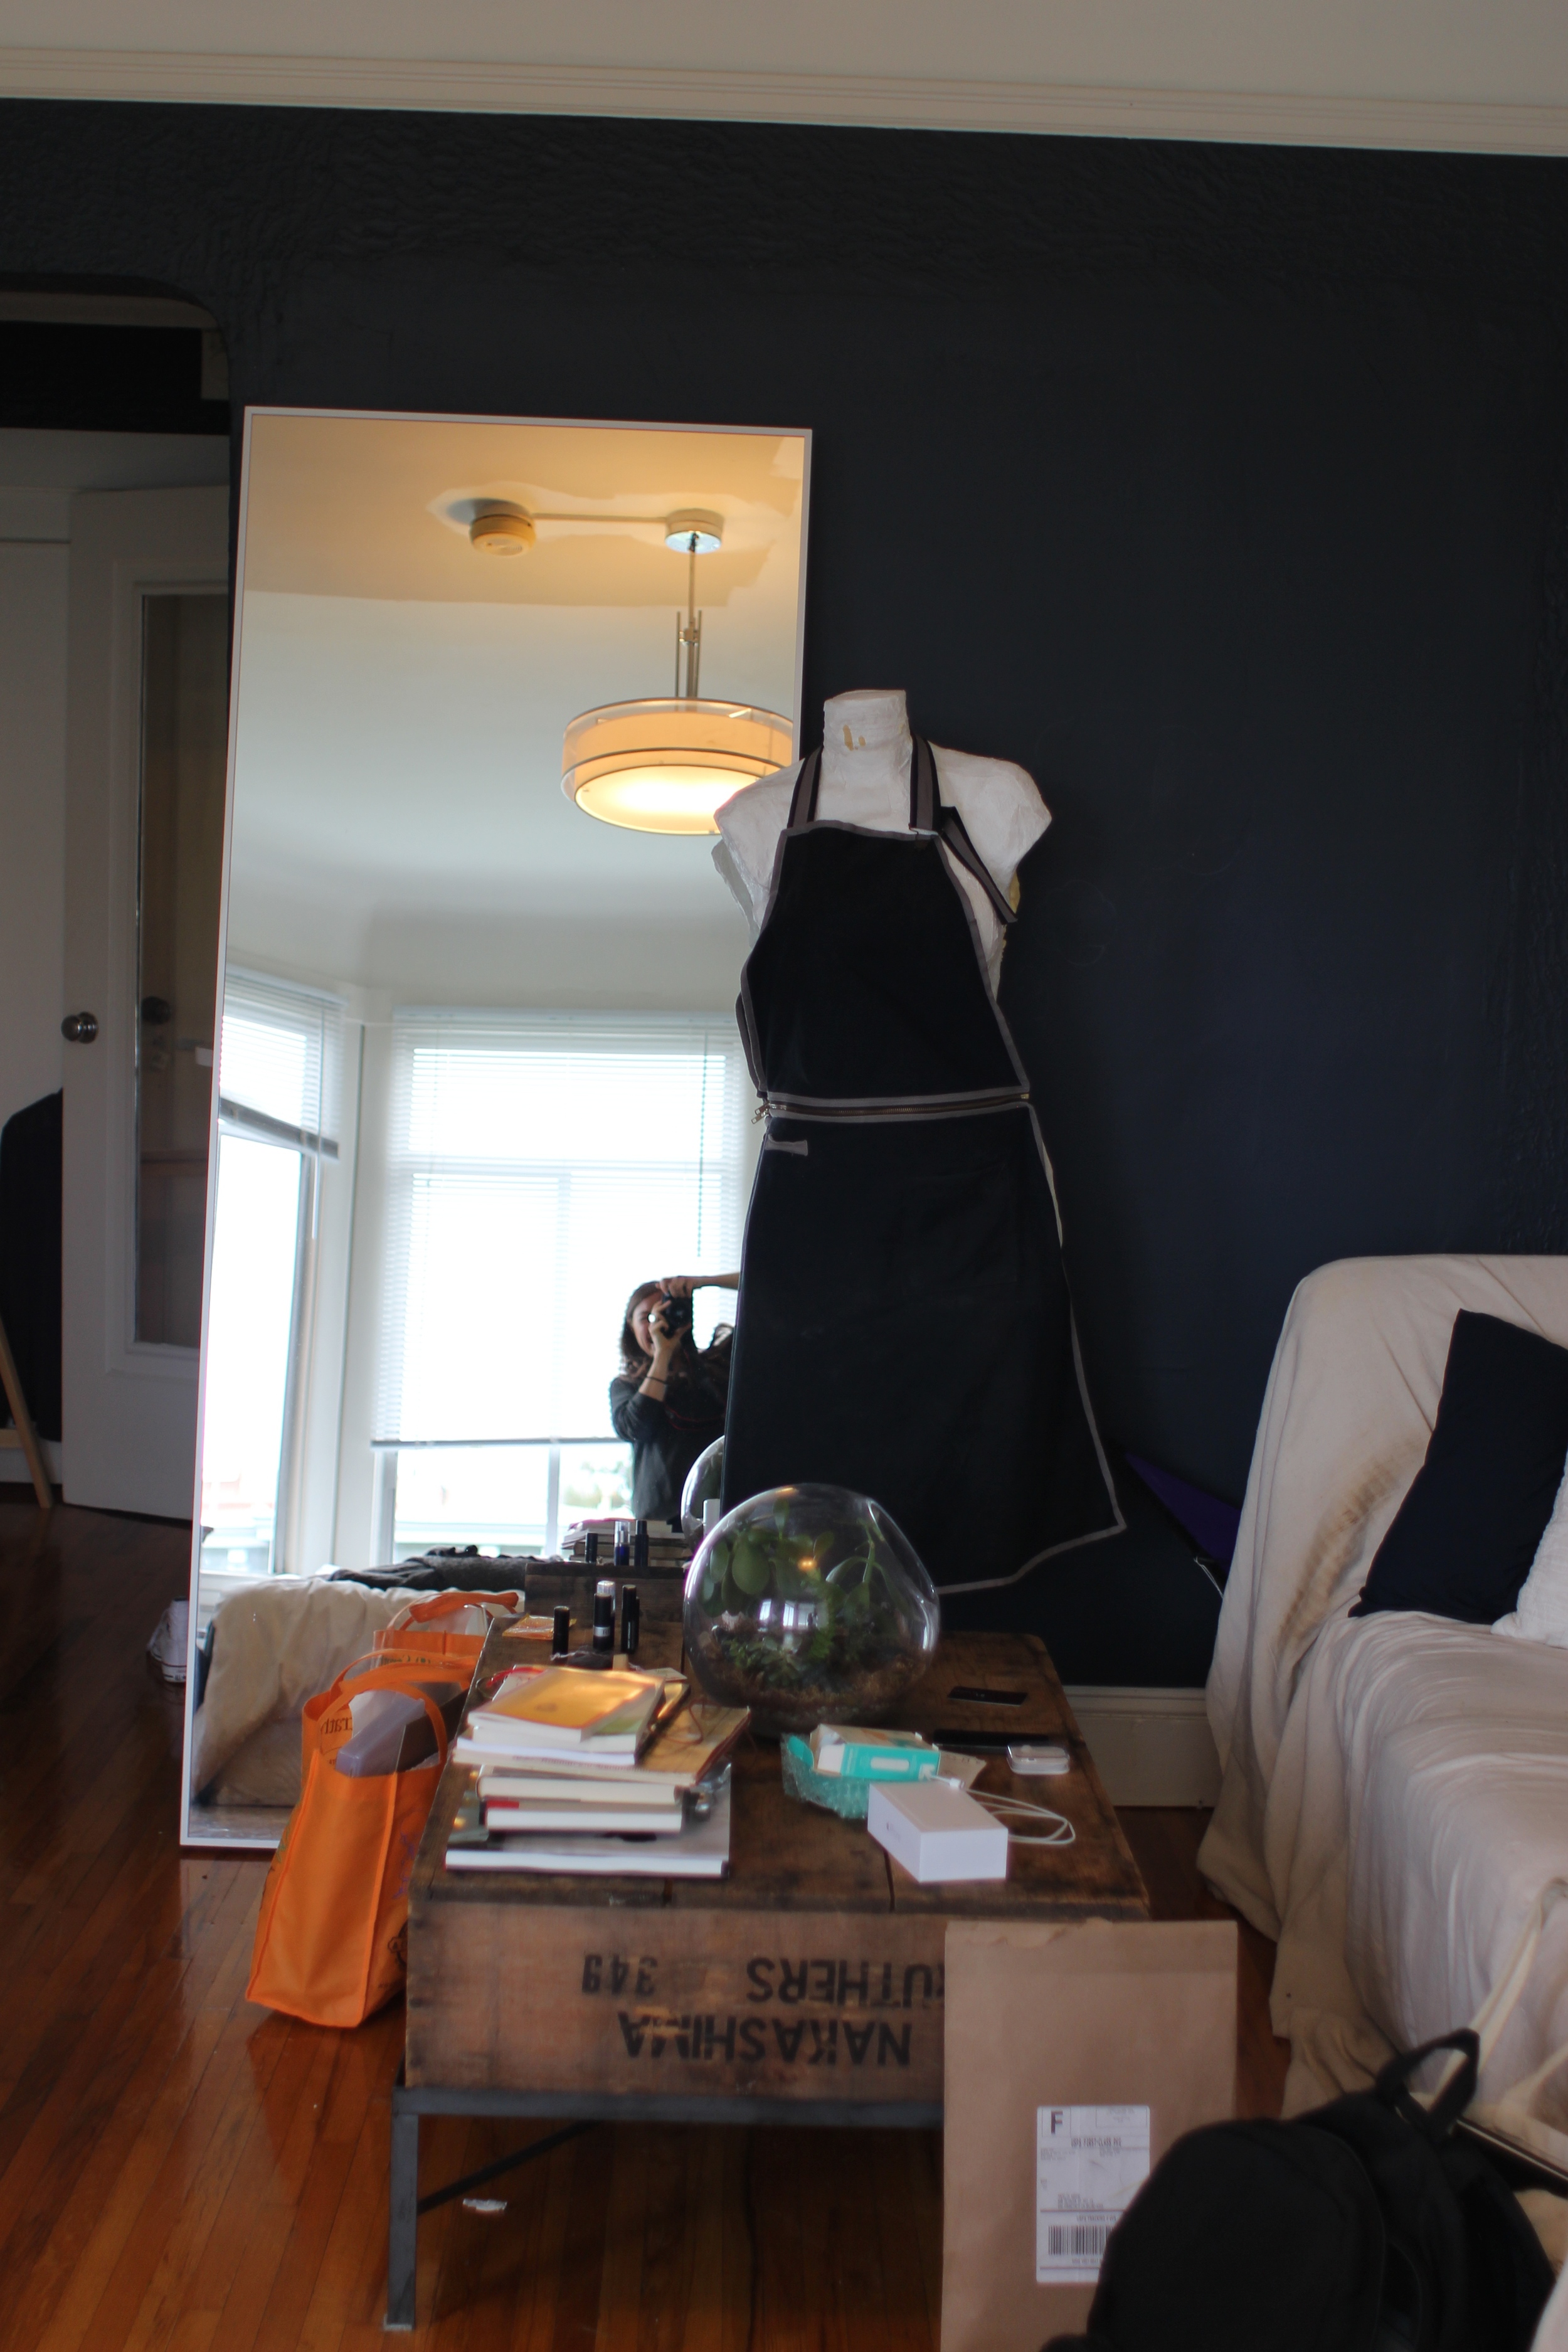
Above you can see that the home-office before (left) had turned into a room not just to hold office items, but also to store things that didn't have a proper home elsewhere in the house.  As the papers started to pile up for these busy working parents, the task of clearing and sorting everything became overwhelming.  

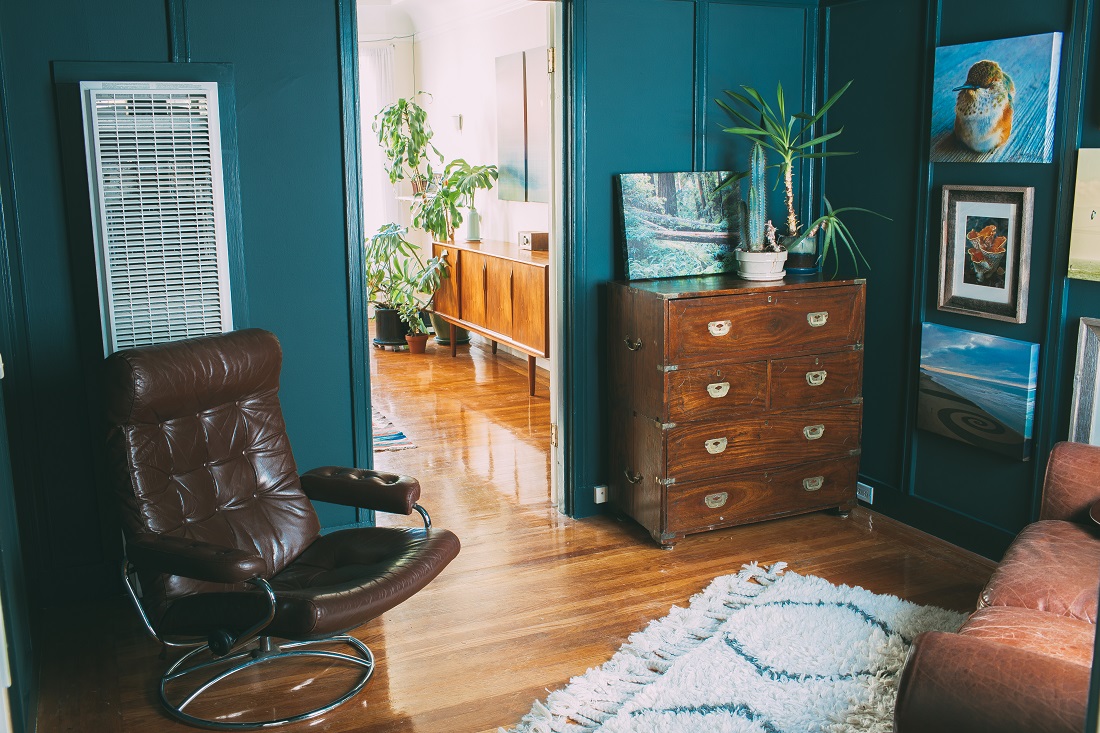
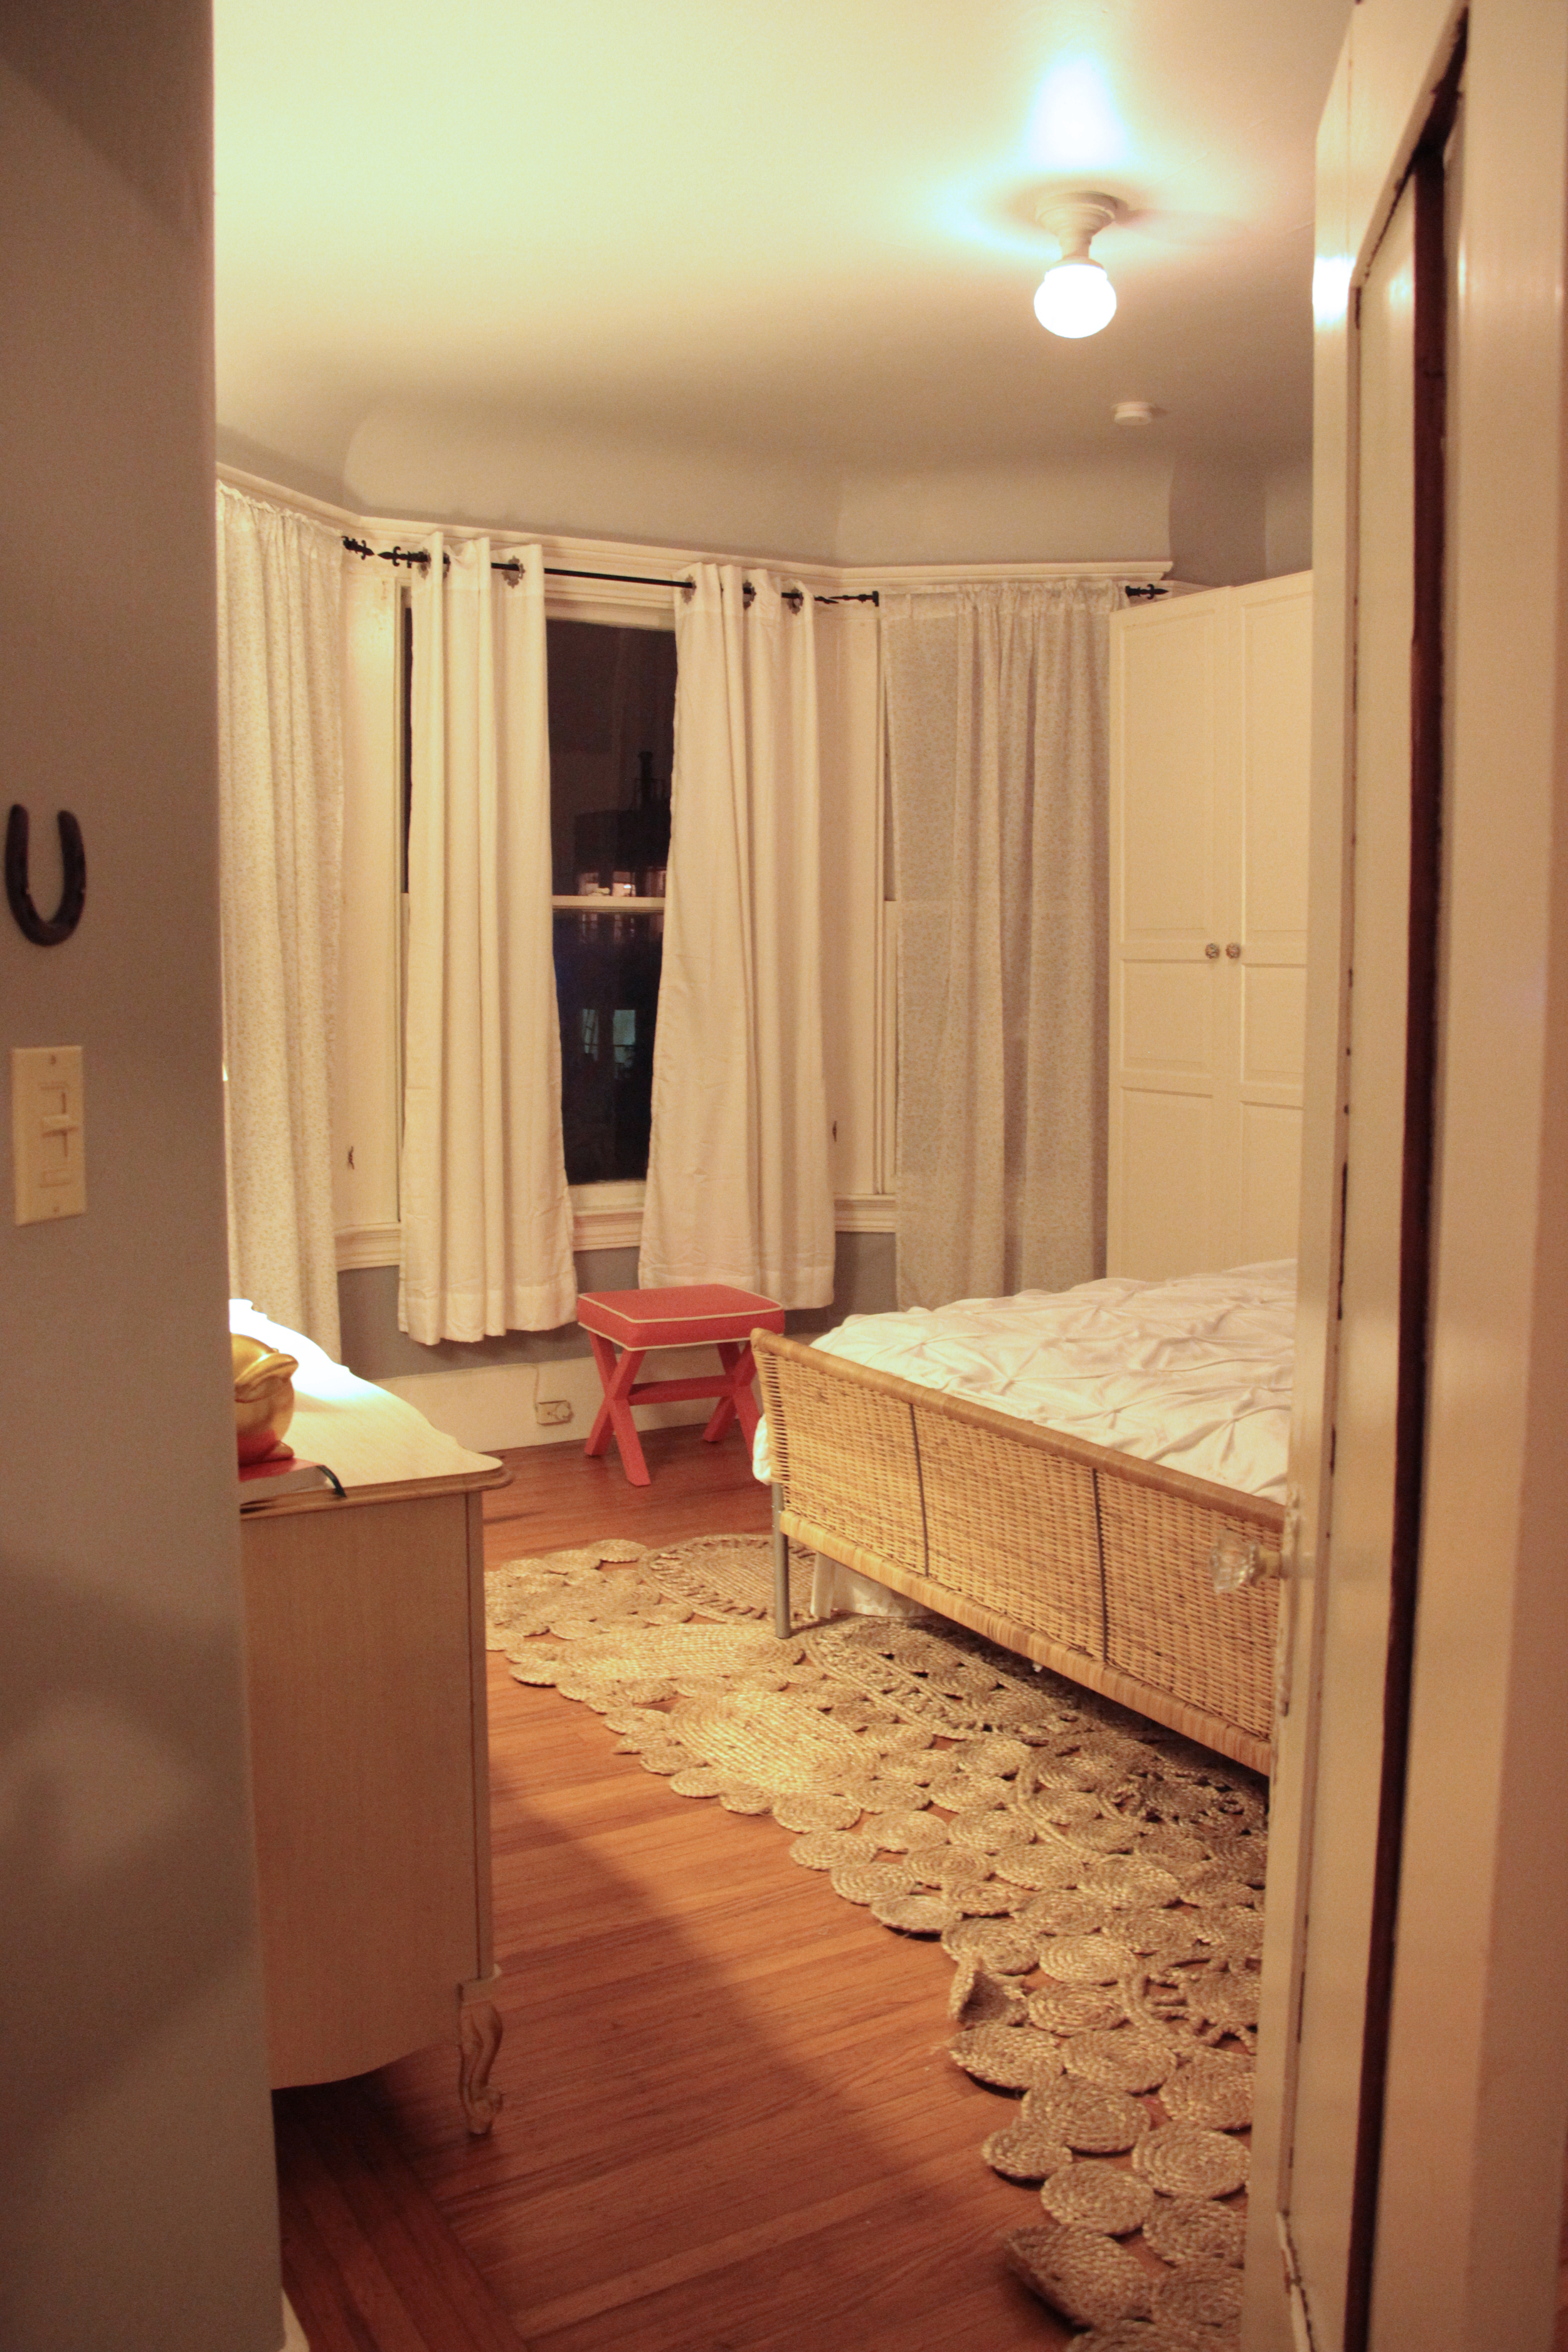
As is so common, once the clutter became overwhelming our clients found it was easier to close the door than to sit down and sort it all.  In the after photo (right) you can see what a stunning transformation this room undertook.  Our client selected a fun teal color for the carpet tiles, and chose the brand FLOR for their commitment to using sustainable materials. The IKEA bookshelf turned on its side was purchased second-hand.

We find that all of our clients are experiencing some type of significant transition when we work with them.  In this case, a second child on the way was the perfect time to prioritize and make room for life's exciting next chapter.

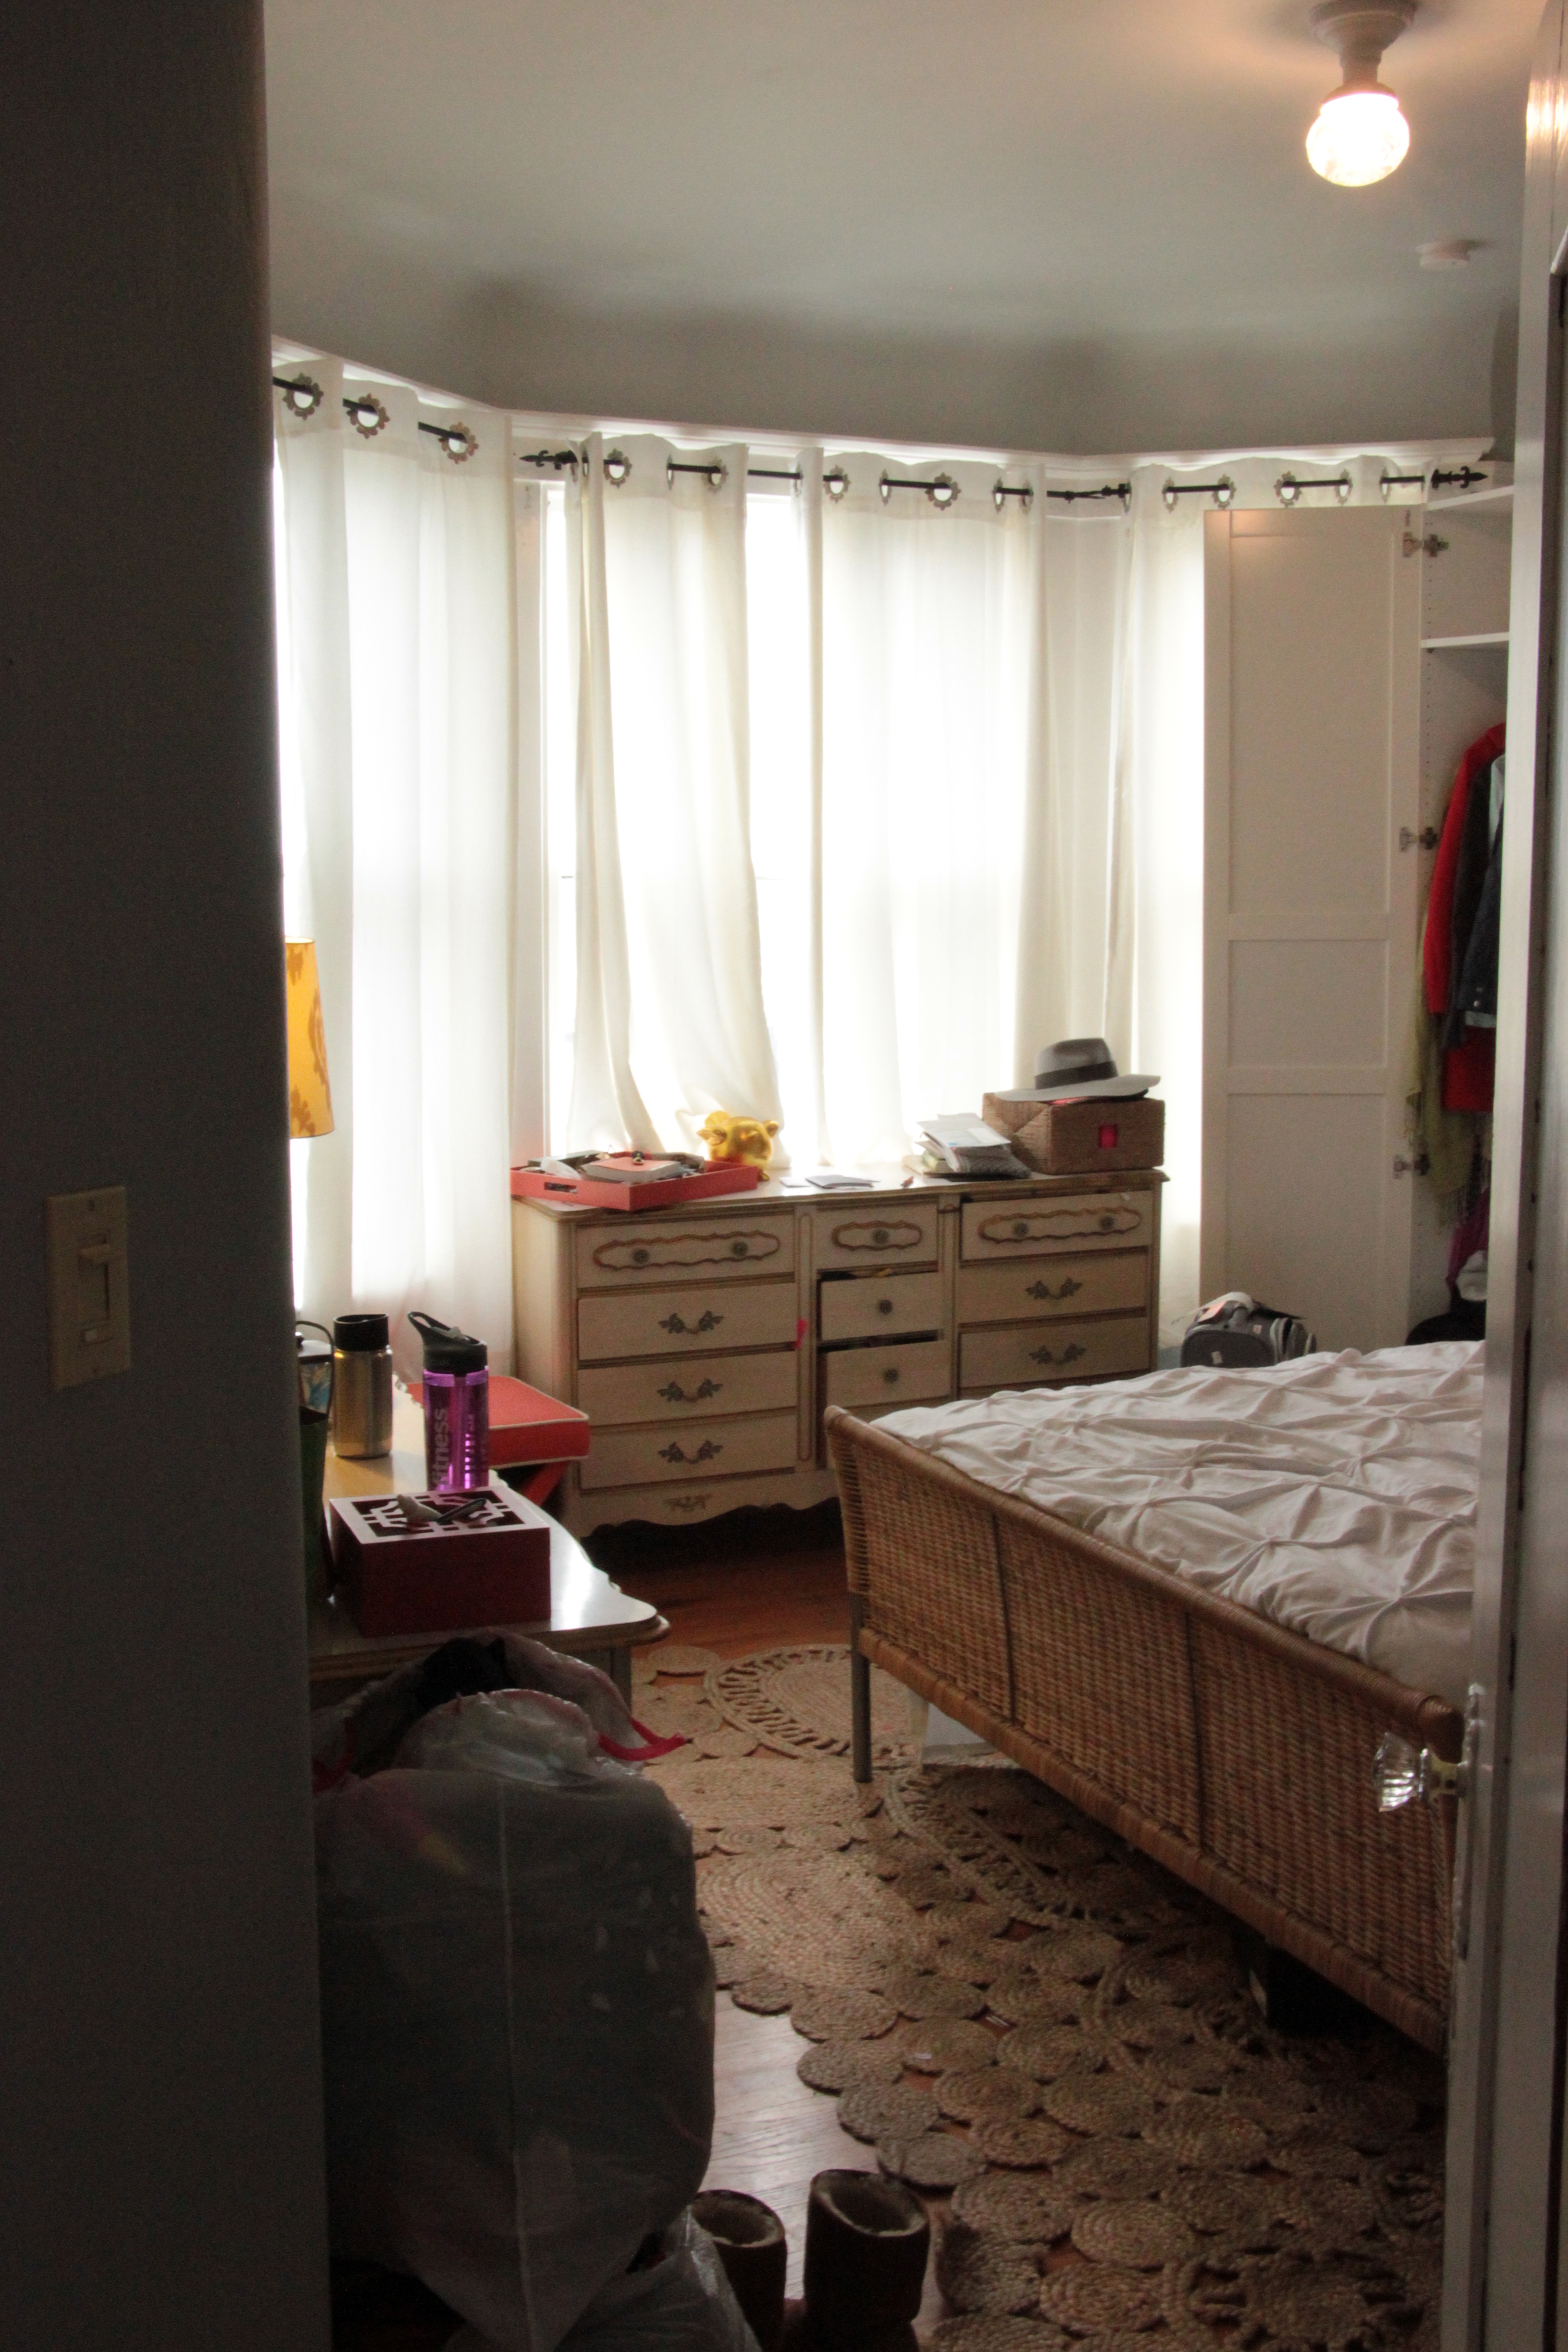
Again, the before and after shots are quite remarkable!  Before the desks were crowded with papers and extraneous office supplies.  We culled a "capsule" version of the office supplies to relocate to the new office in the garage, utilizing the yellow lamp and San Francisco map. After, the room displays playful art and a kid-friendly color palette.

A point of discussion was whether to keep the classic white Parsons desks to possibly be used in the future.  We encouraged our clients to consider the hidden costs of keeping these items "just in case."  The desks would need to be stored in a hard-to-access, already-crowded attic.  They would require time to maintain, energy to keep from being damaged as their growing family's needs changed, and the mental space to remember that the desks are there in the first place in the case that your future self has a need for said desk.  In the end, our clients took our advice and sold the desks on Craigslist.  They reported that we were relieved to send the desks to a new home and used the money towards furnishing the new nursery.

Sometimes the cost of keeping an item outweighs the cost of potentially having to re-buy that same item in a hypothetical future date.  

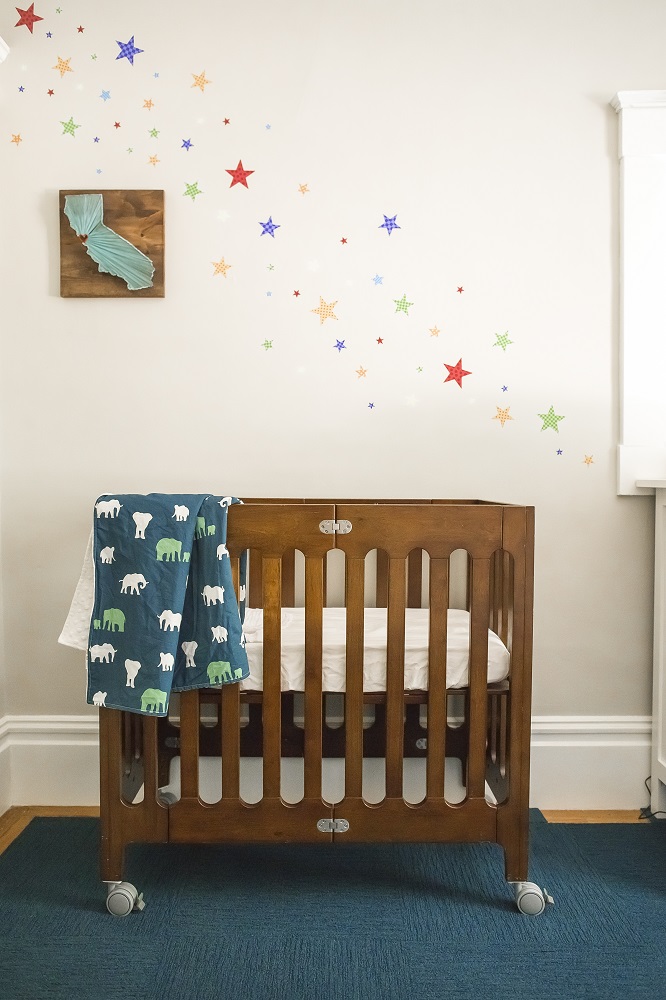
The crib was purchased second hand from Golden Gate Mothers Group.  Our client describes this group as a "gold mine" for previously-used, but like-new baby items.  

TIP:  If you are expecting a child, research to see if there is local mother's group in your area.  Not only are Mother's Groups a wonderful community to connect with, they also provide a wealth of information, and hey, you can even furnish your nursery without buying new!

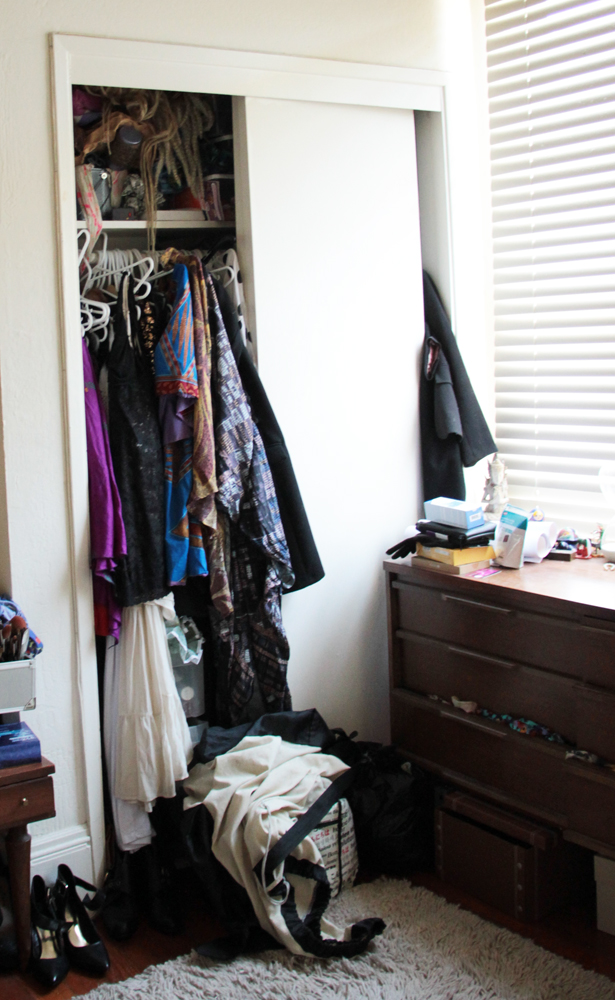
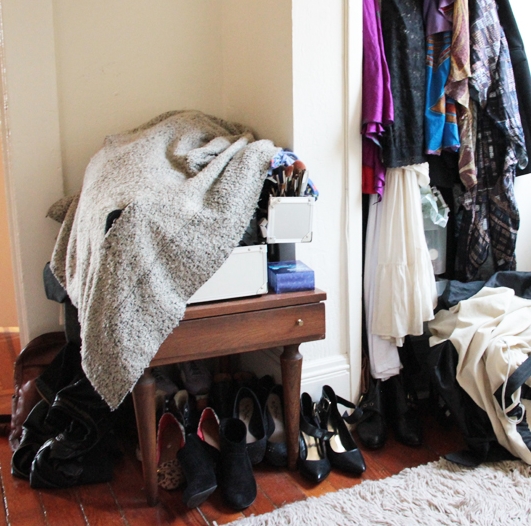
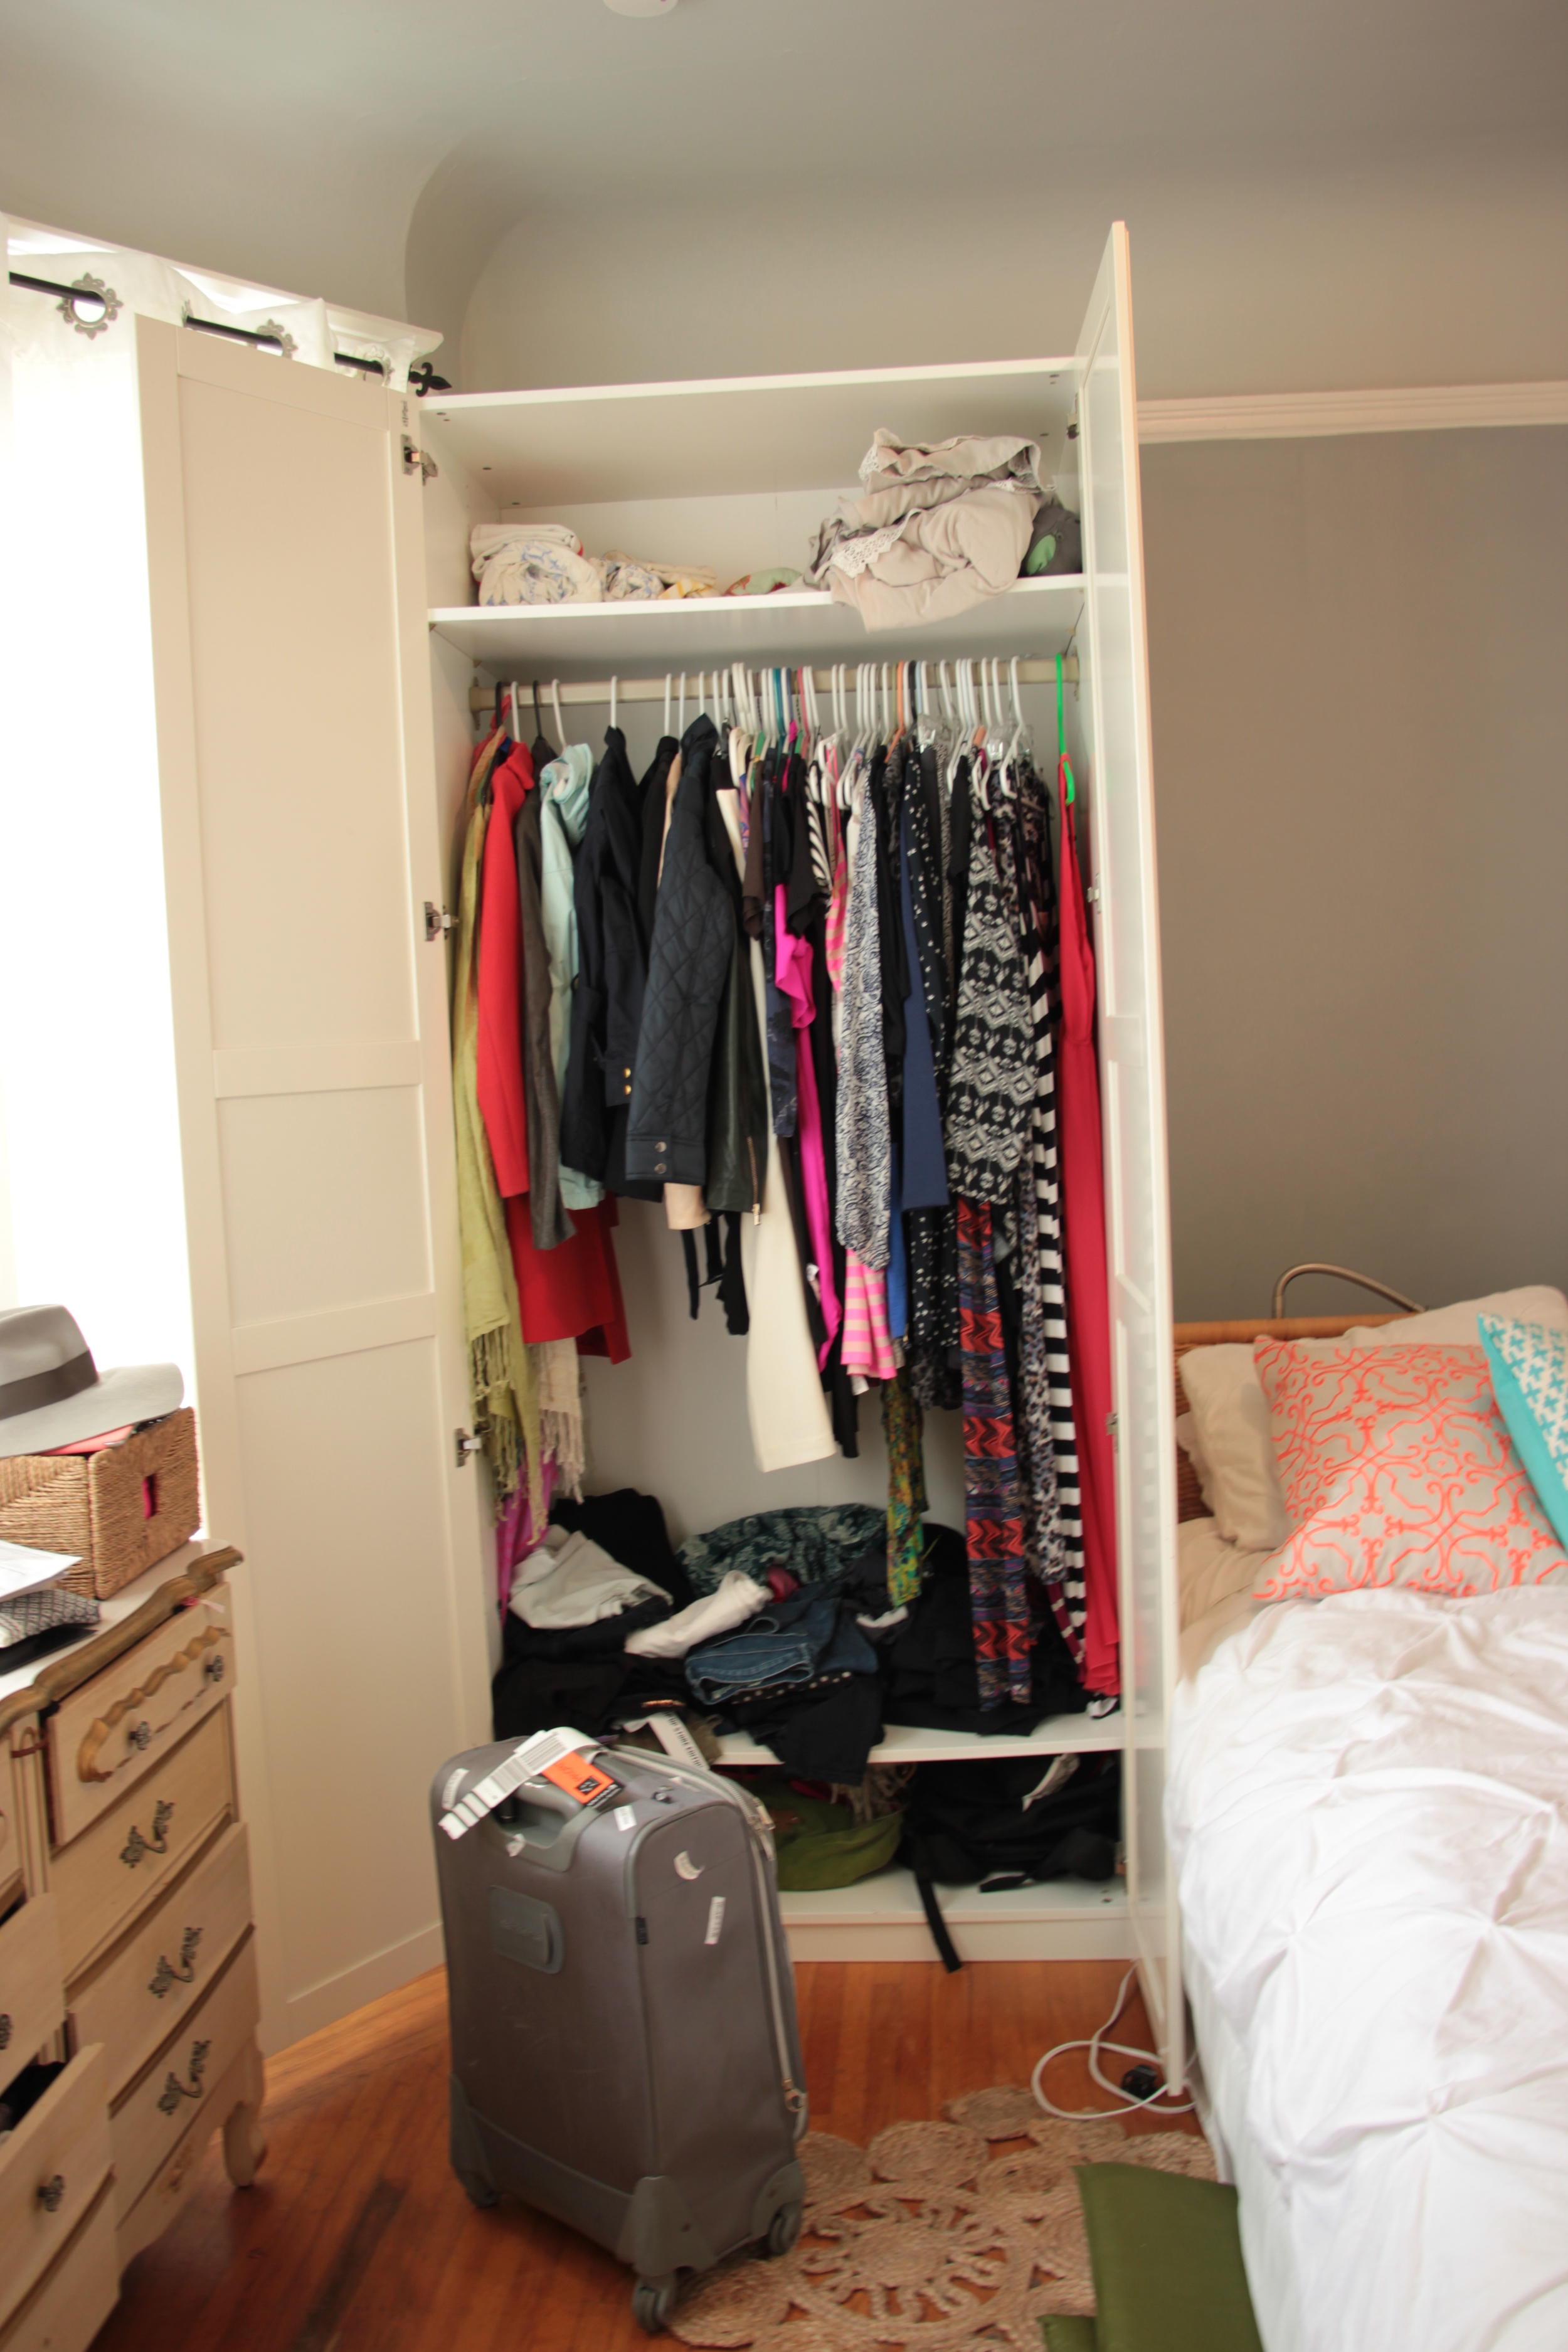
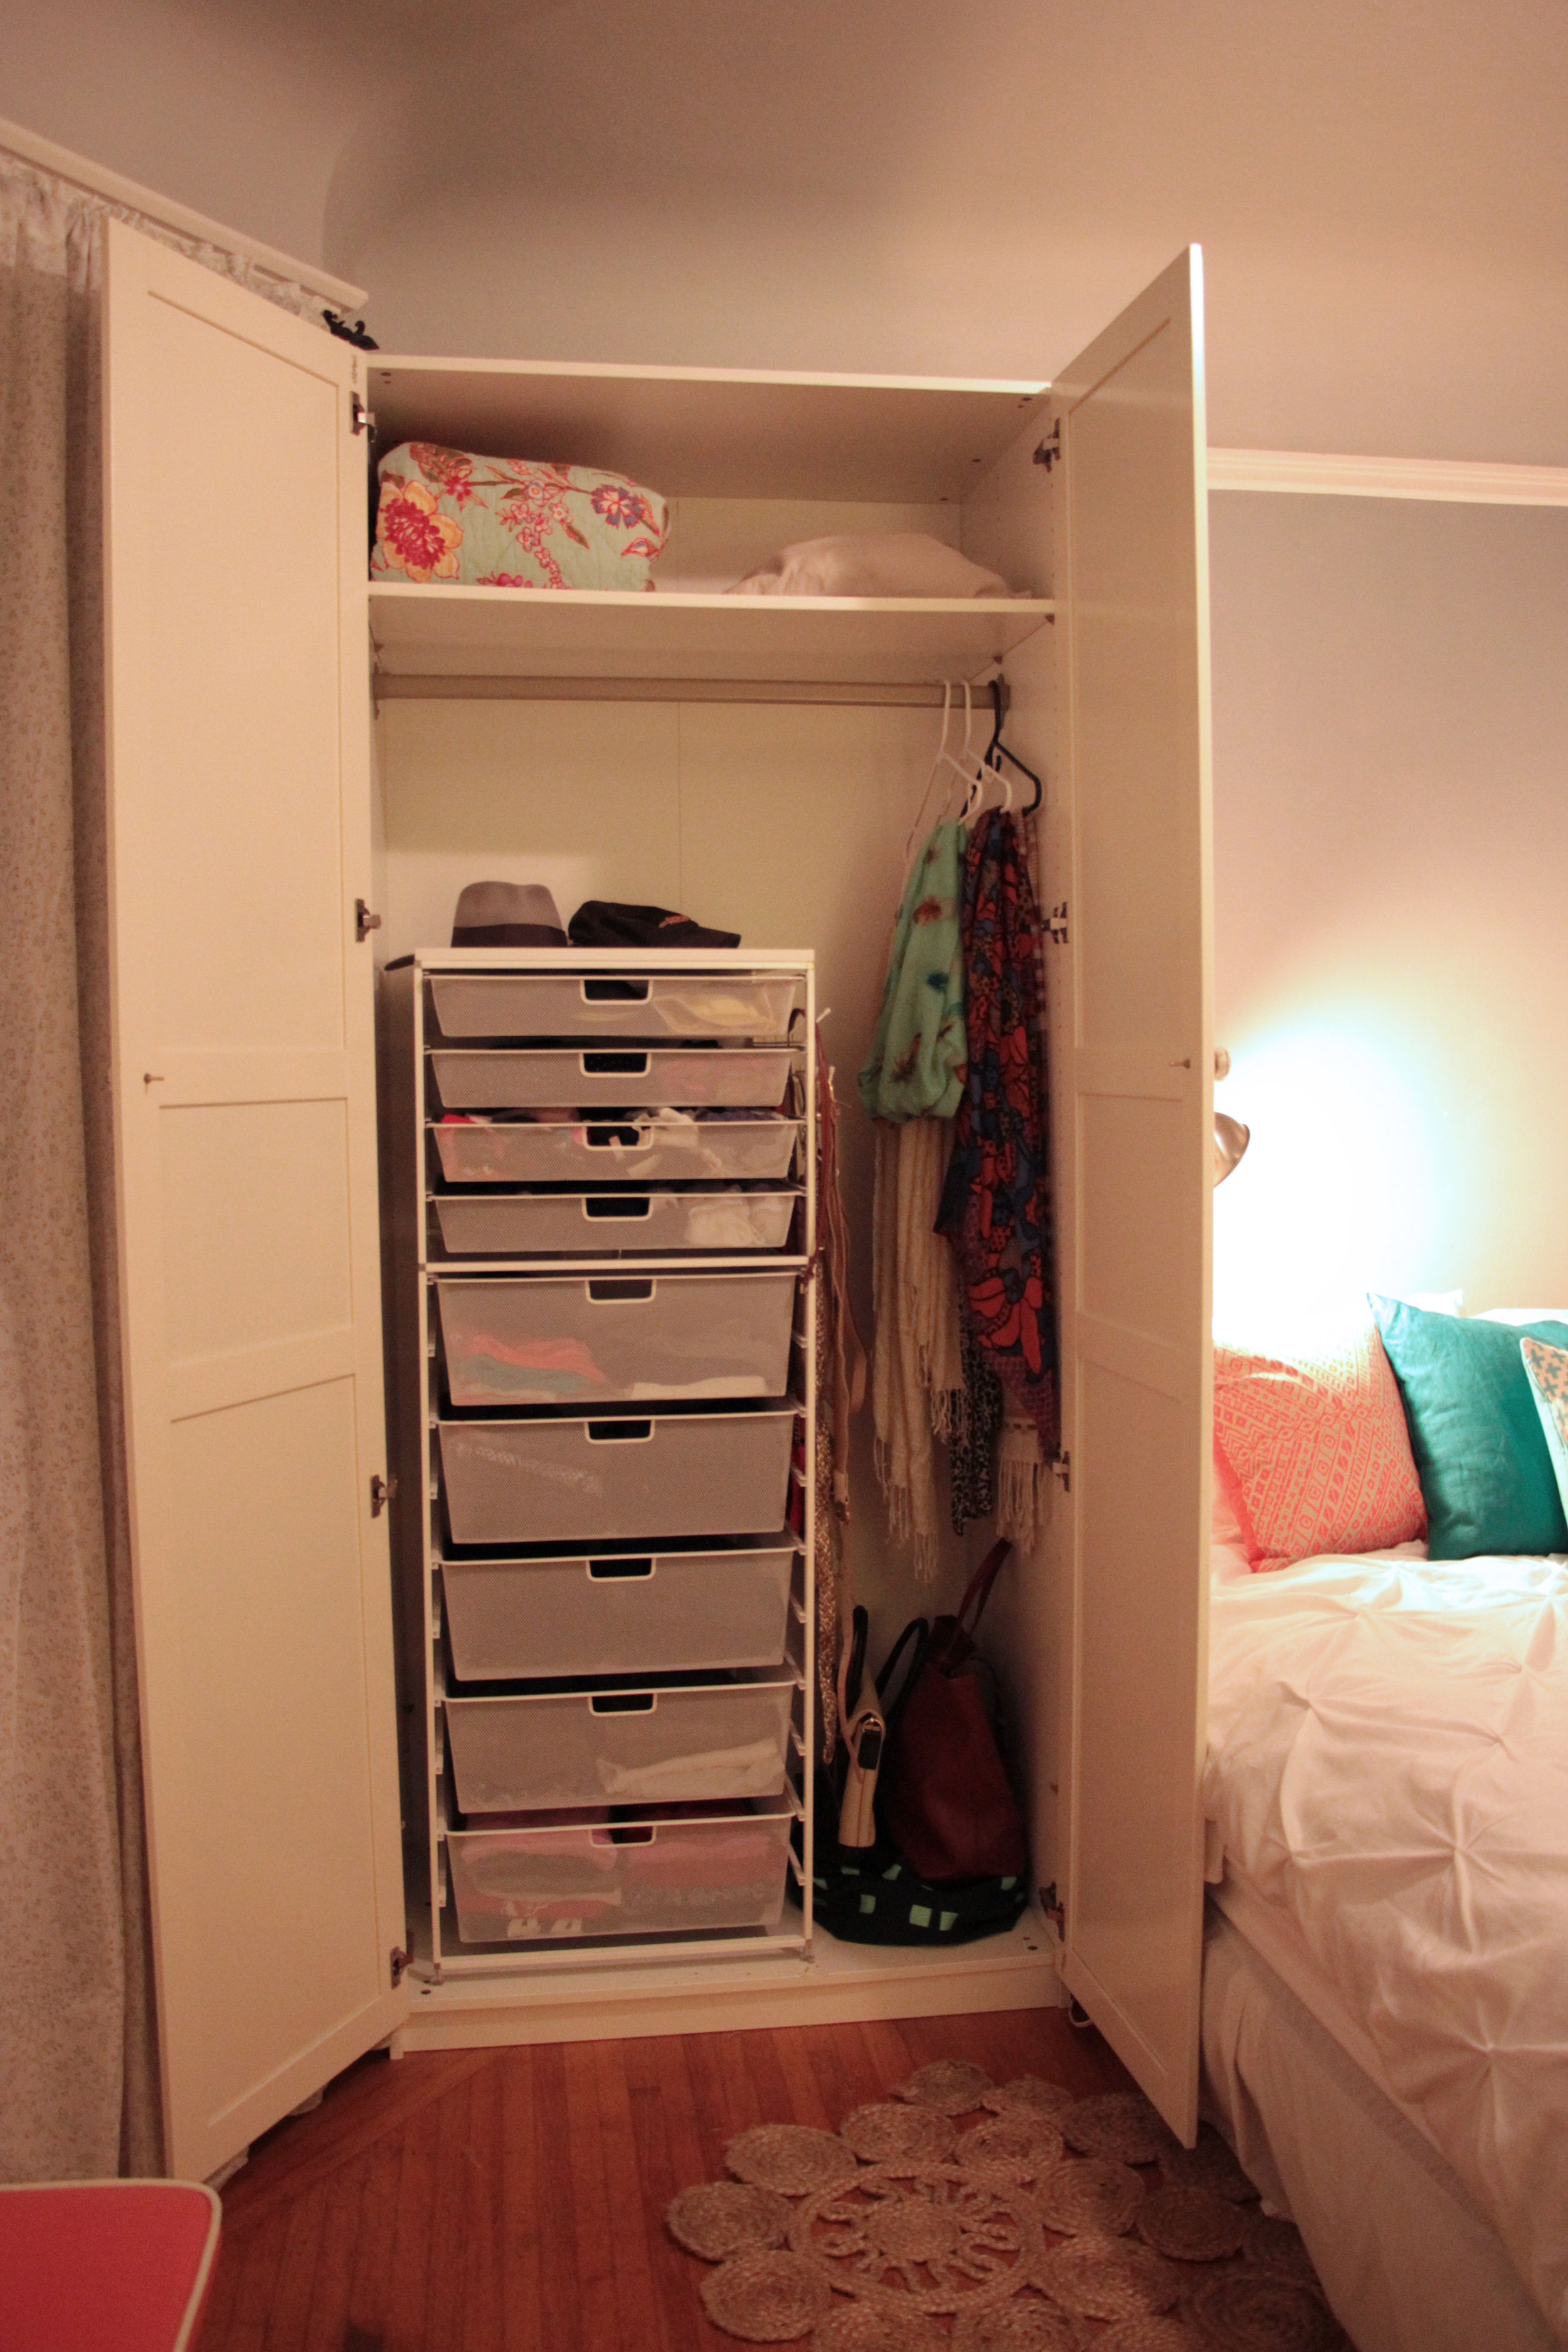
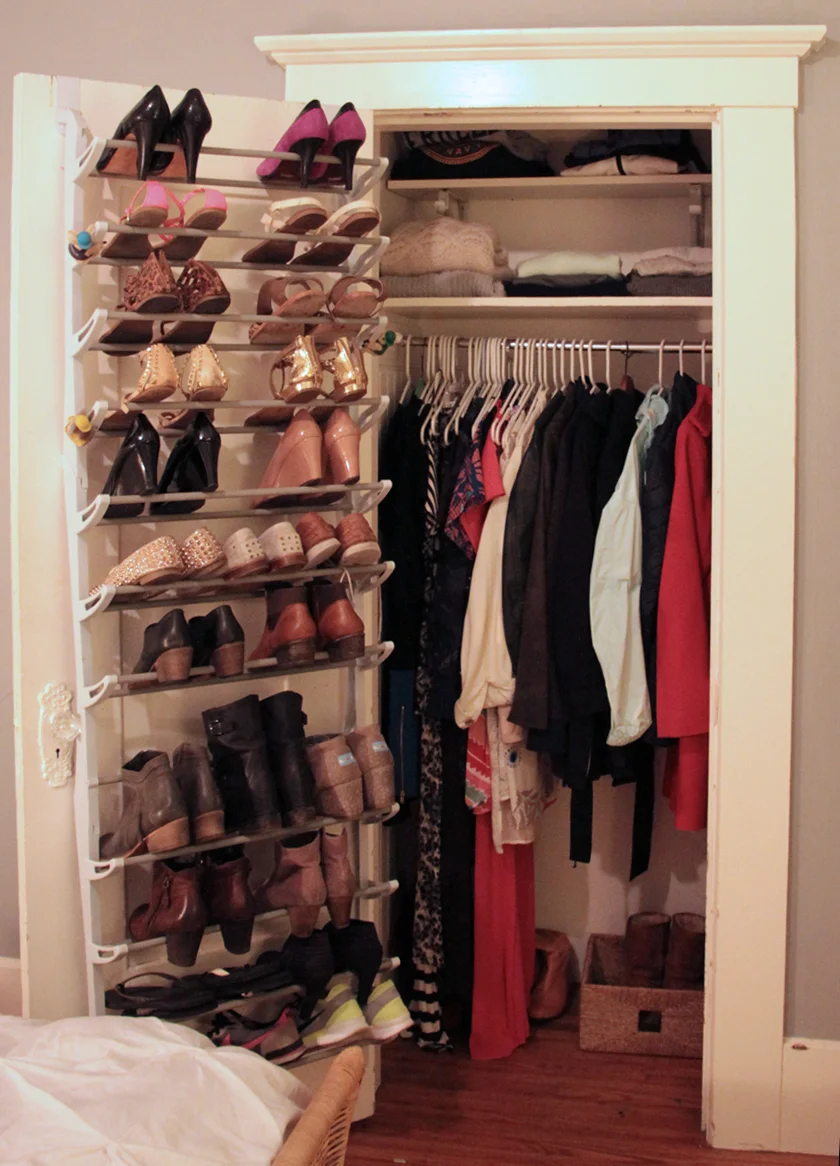
The closet was a big challenge because it was densely filled with many small objects.  We are amazed at the focus of these clients because we were able to sort all this on one day!   While uniform containers give the appearance of order, the contents of the boxes were no longer relevant for our clients' needs. 

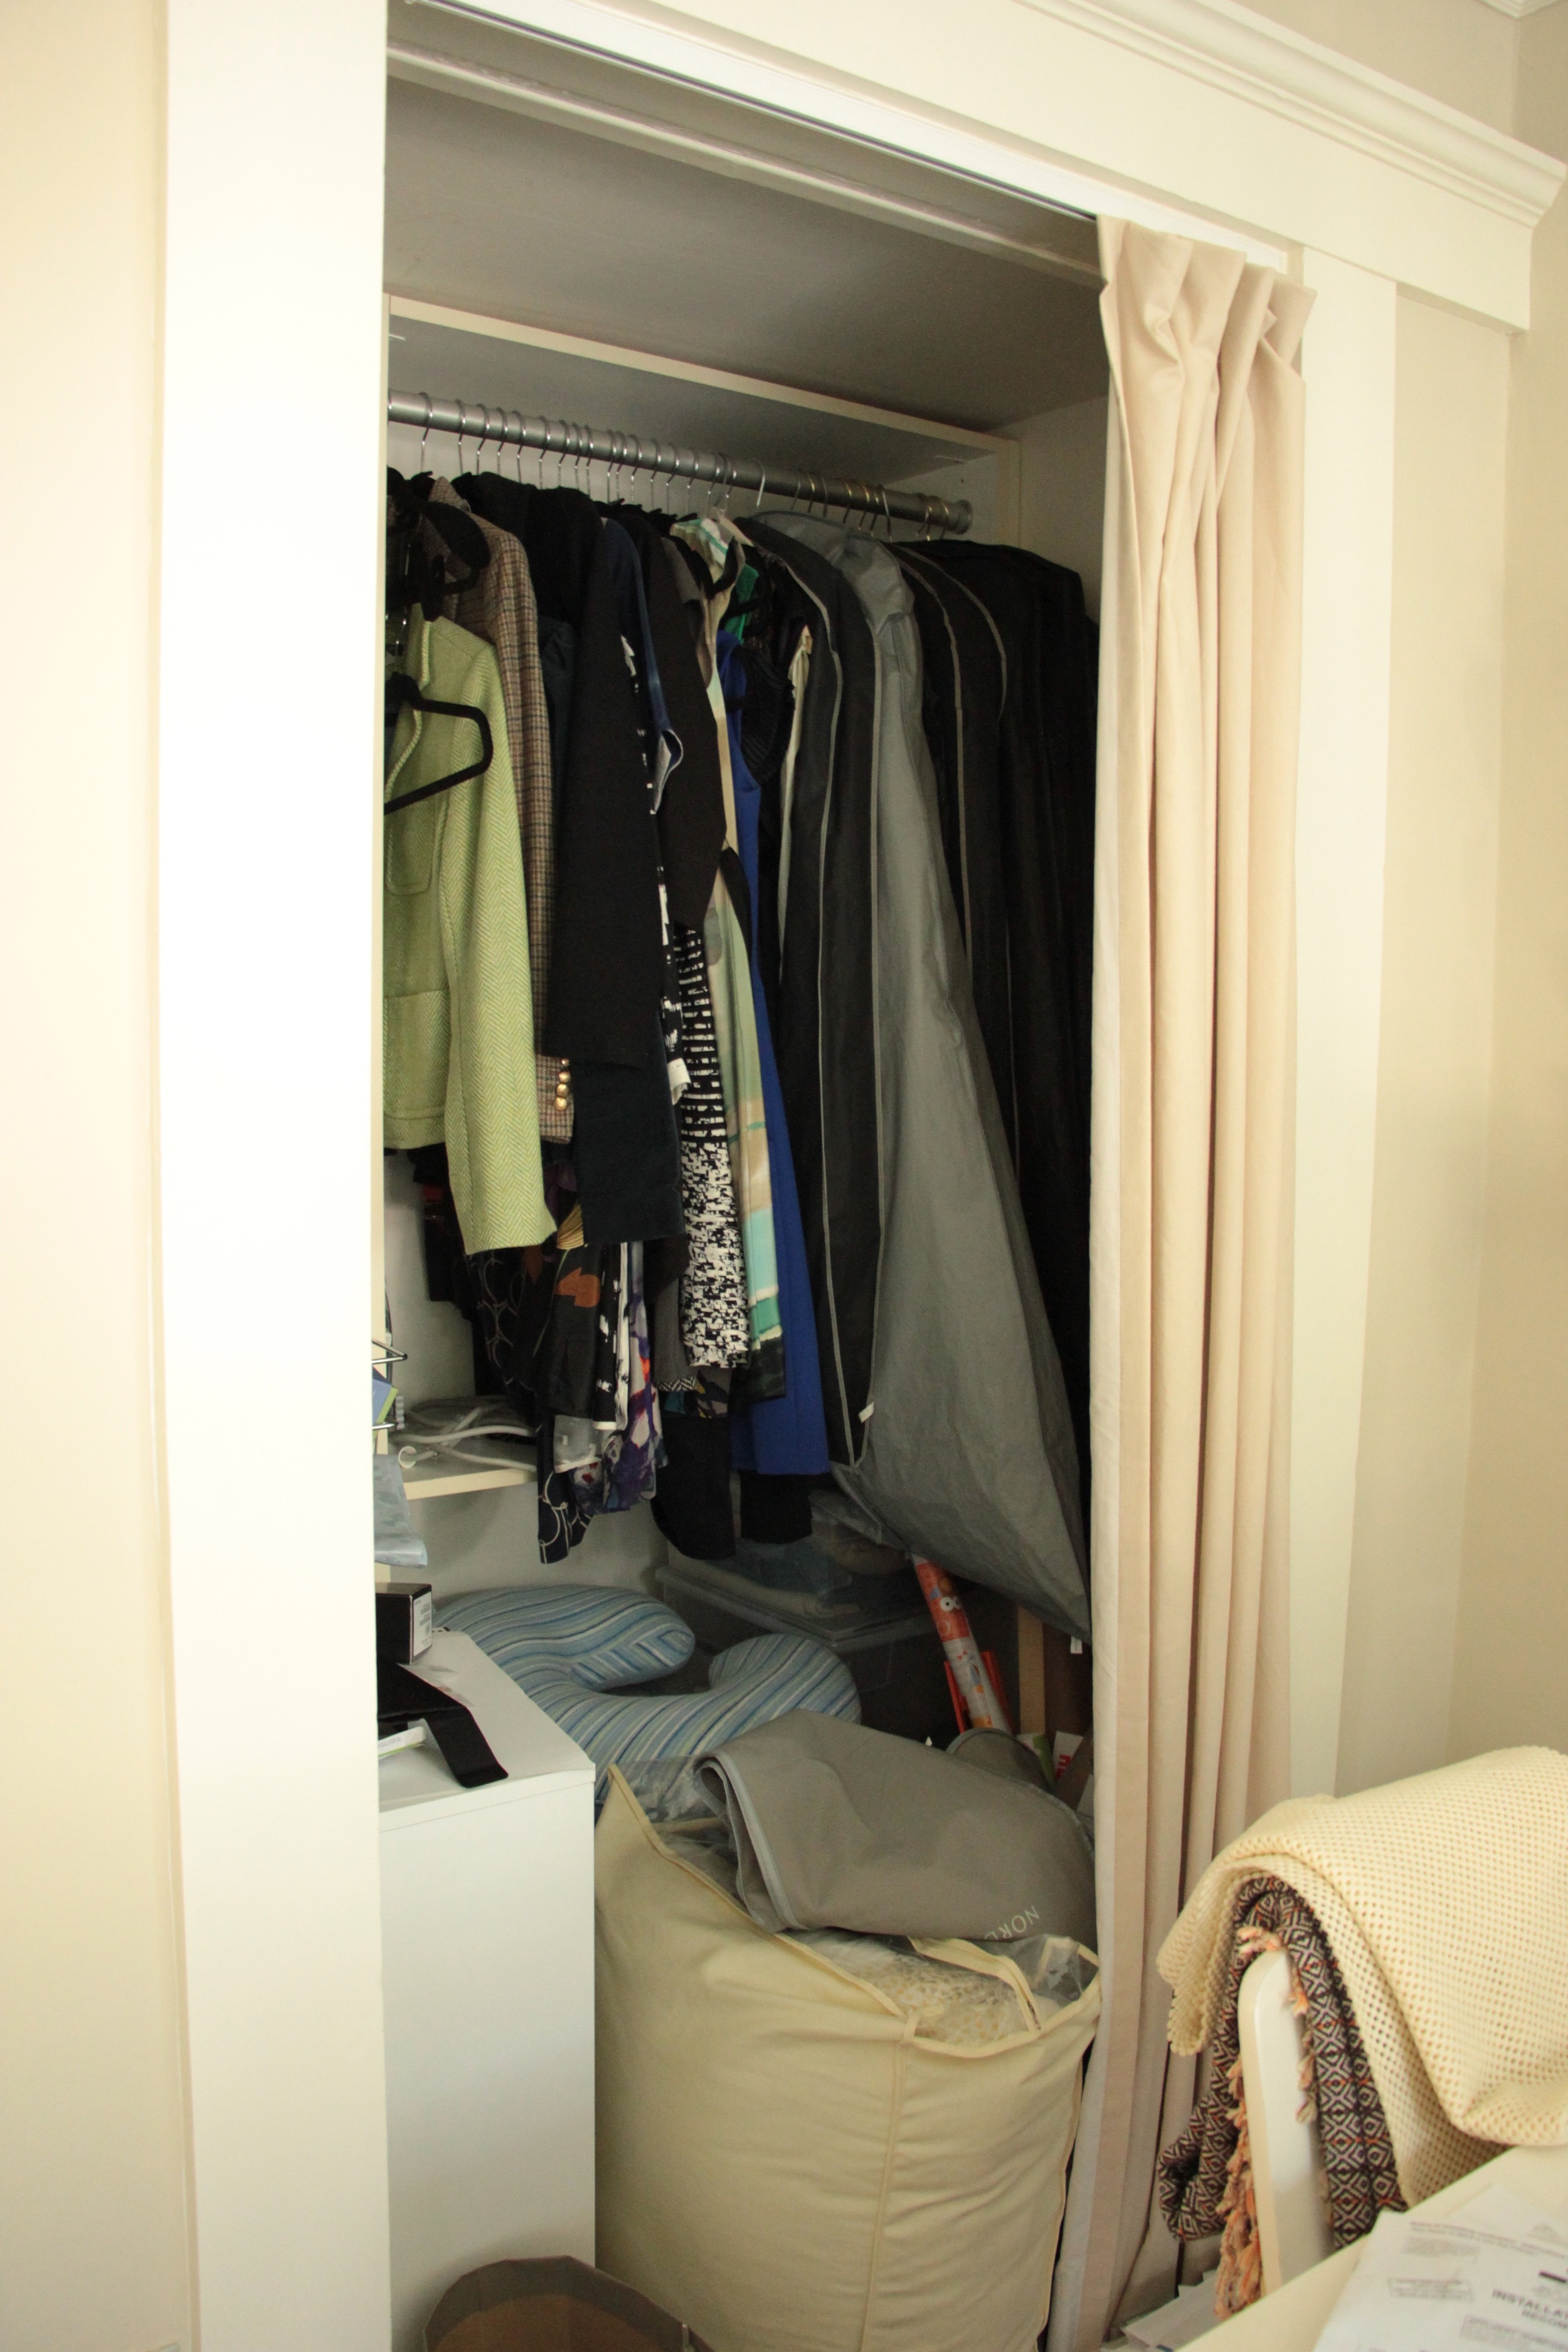
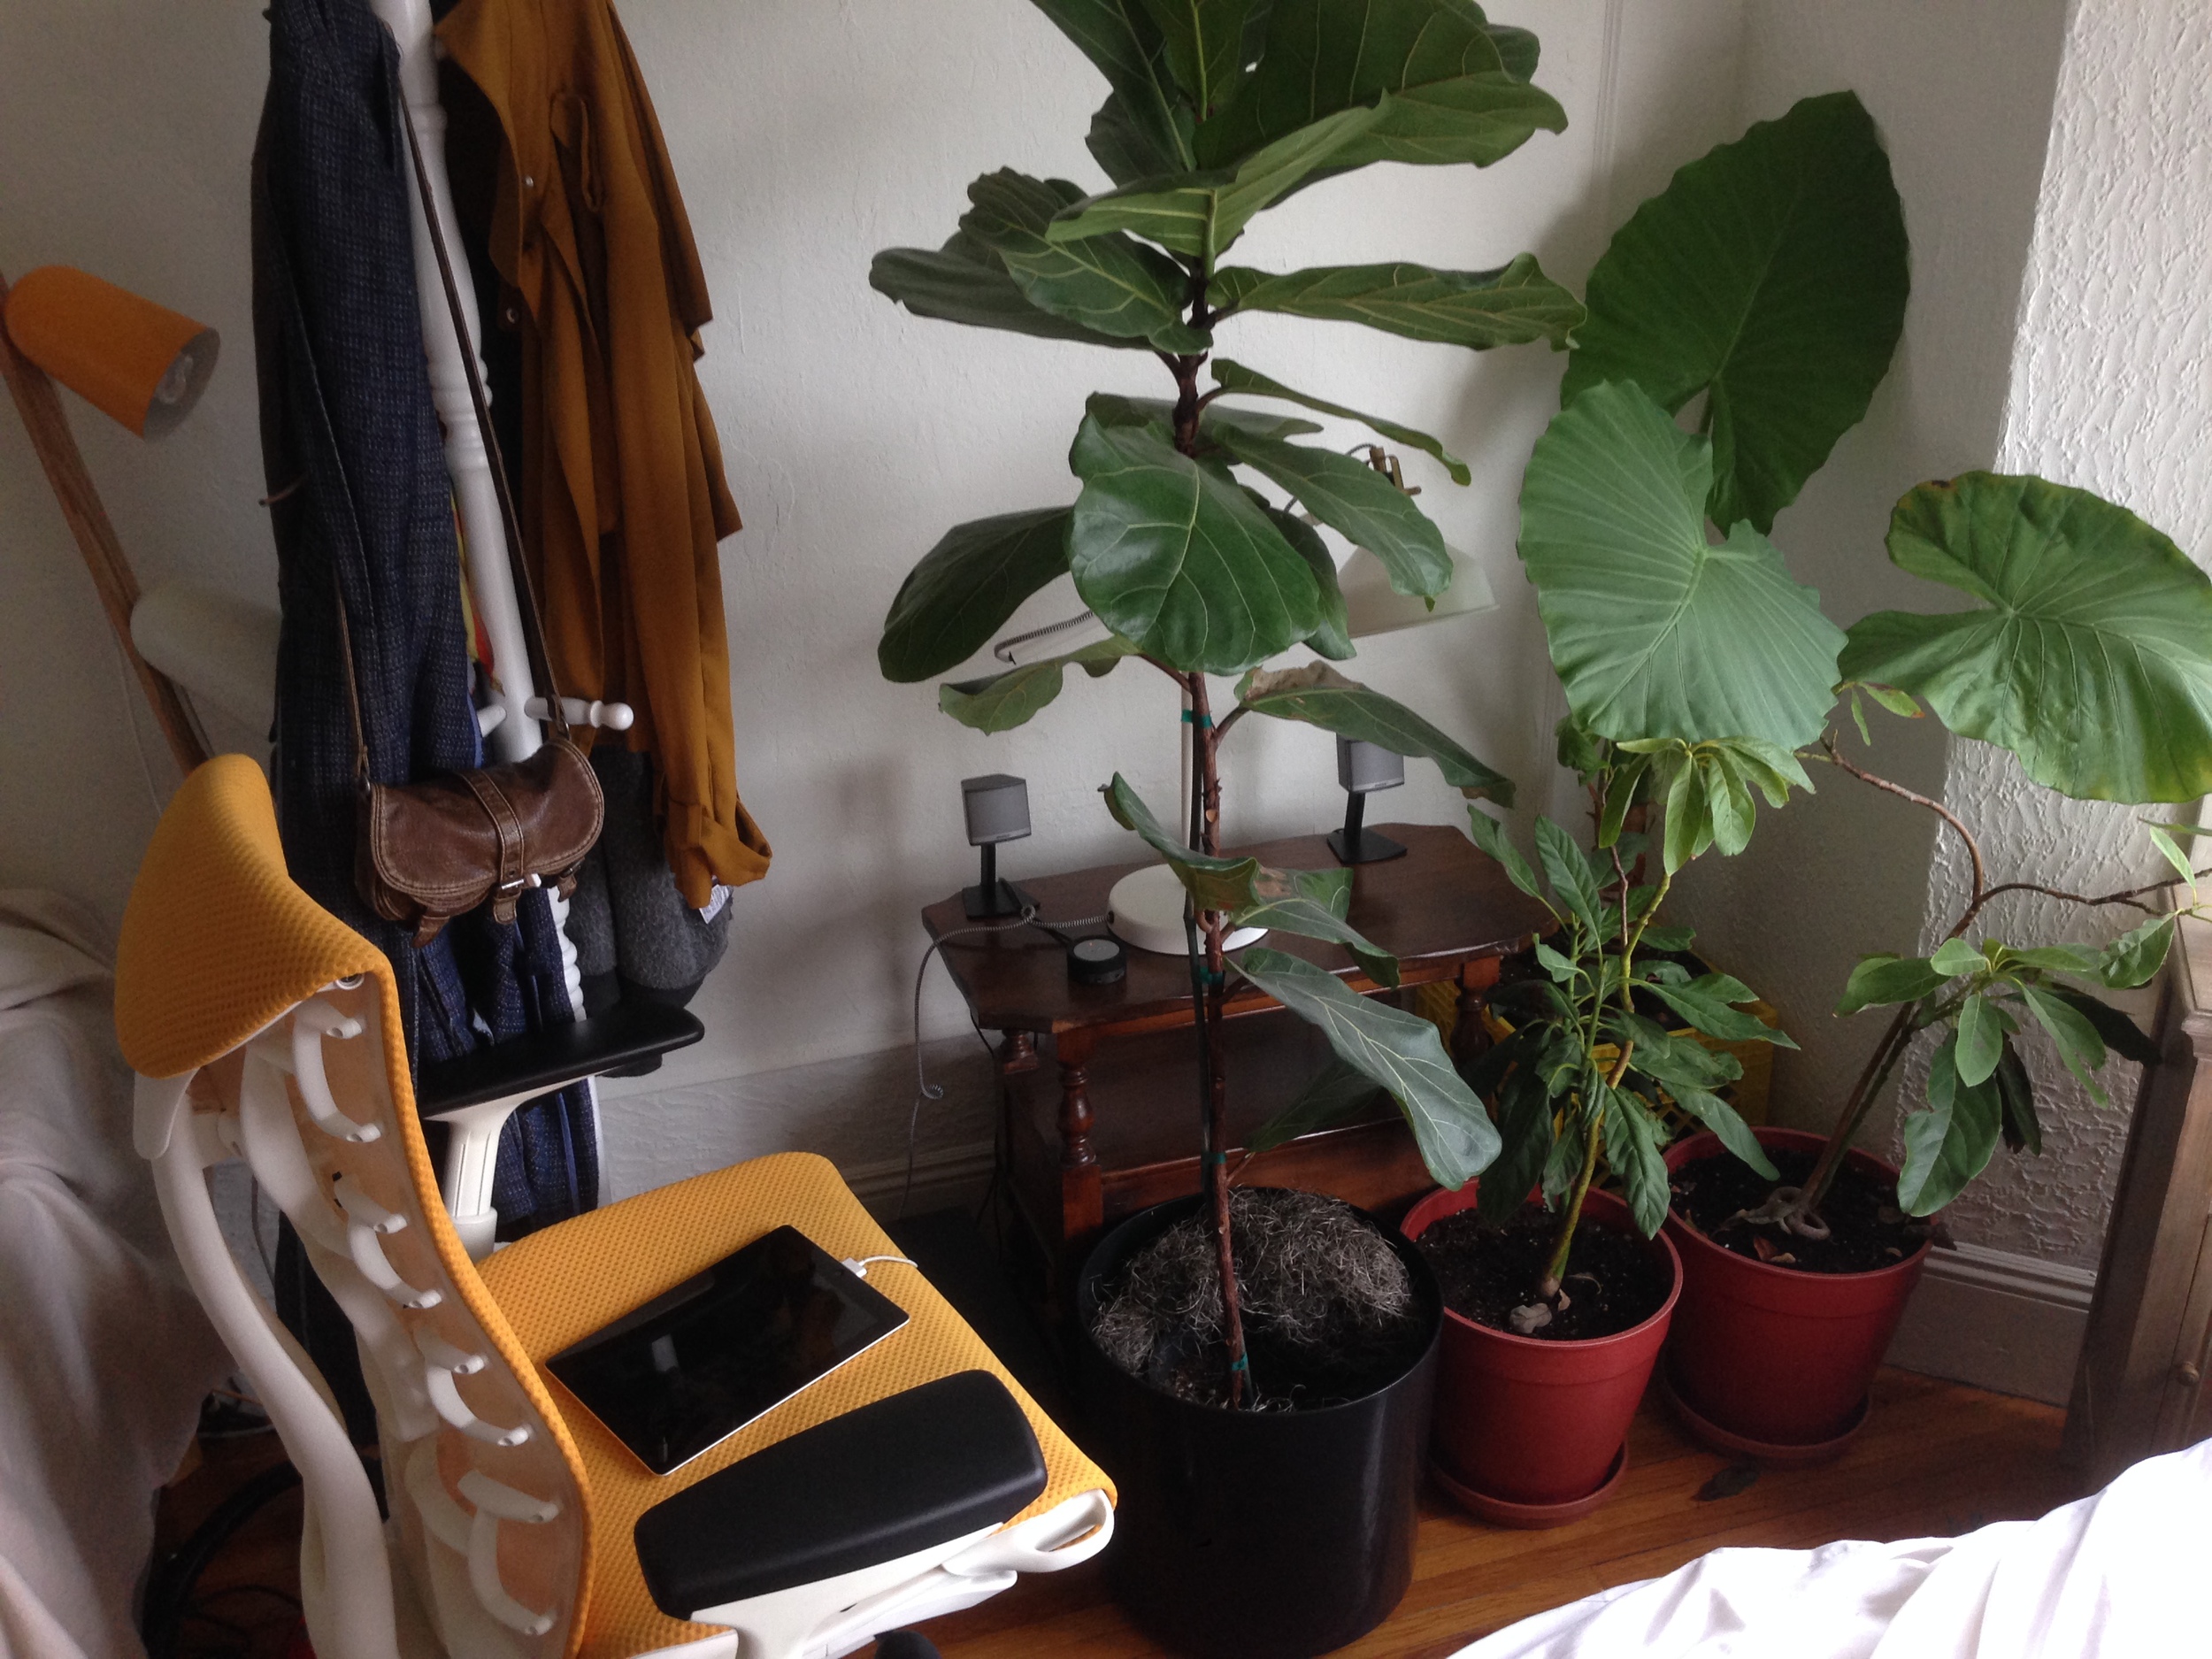
By removing some unneeded items from the entry closet (not pictured), we were able to relocate the extra jackets (shown above) that had sneakily made their way into the office closet. After, the closet is 100% dedicated to the new baby.

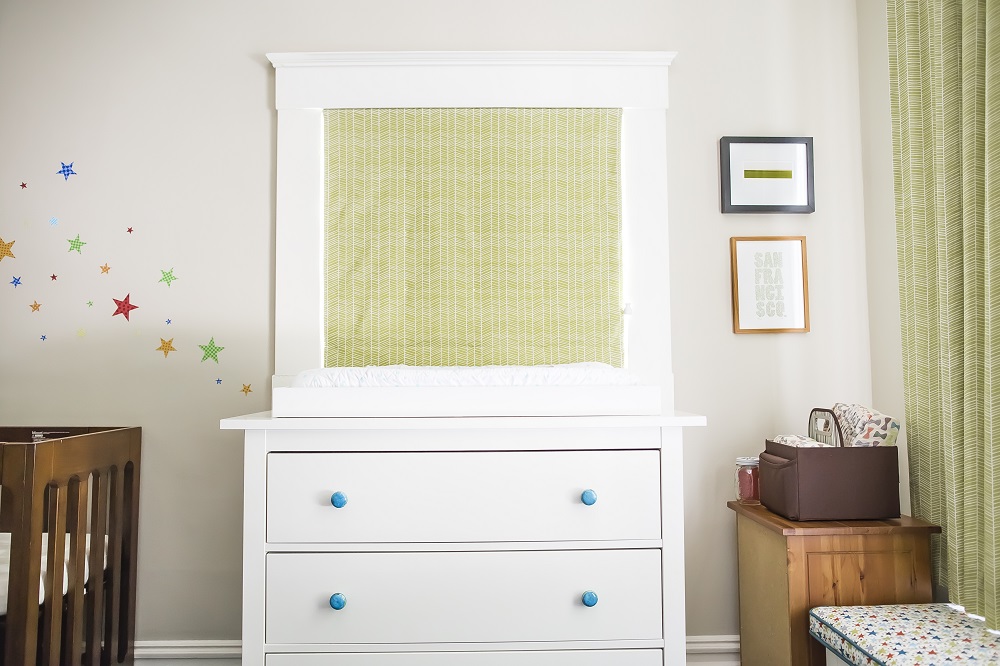
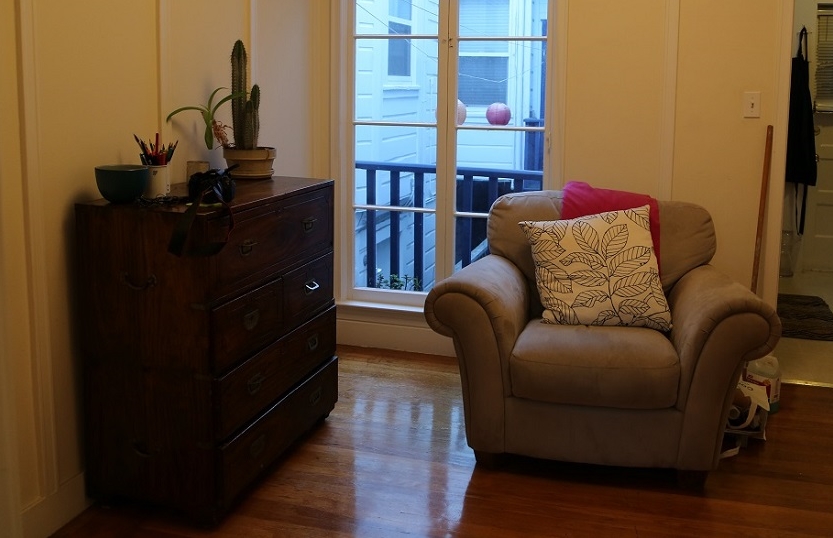
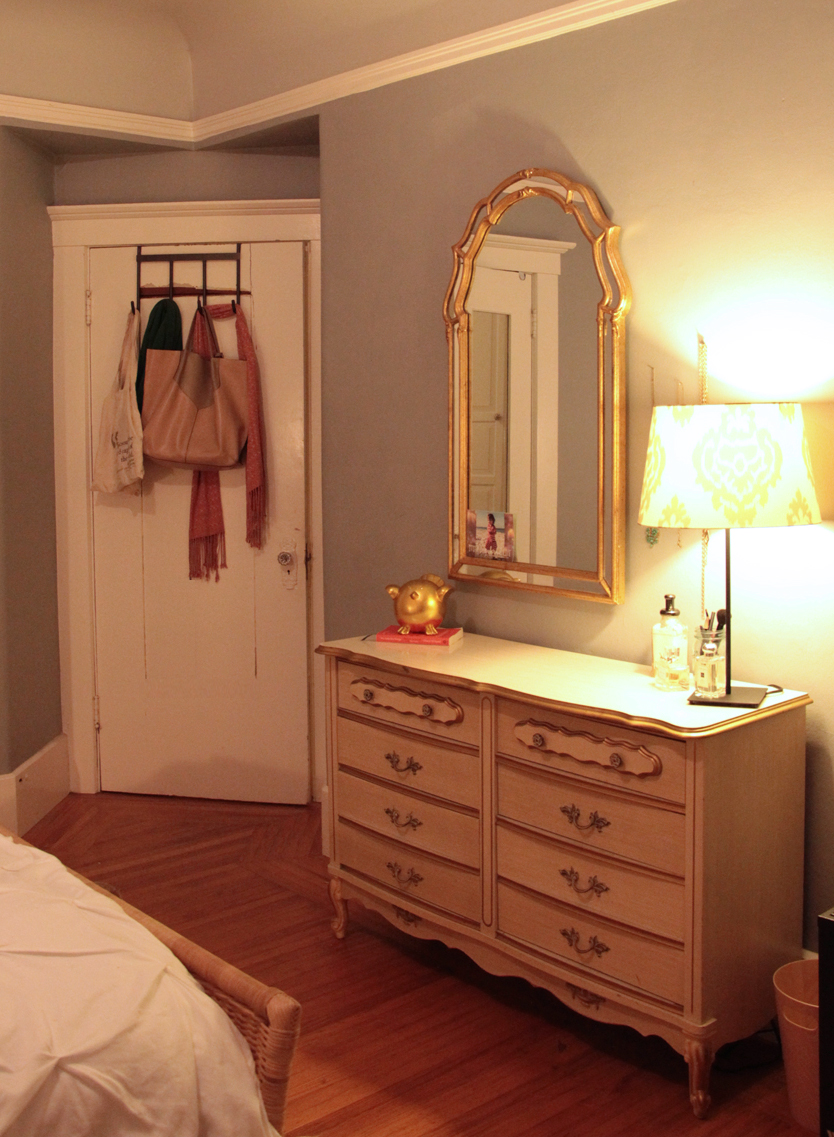
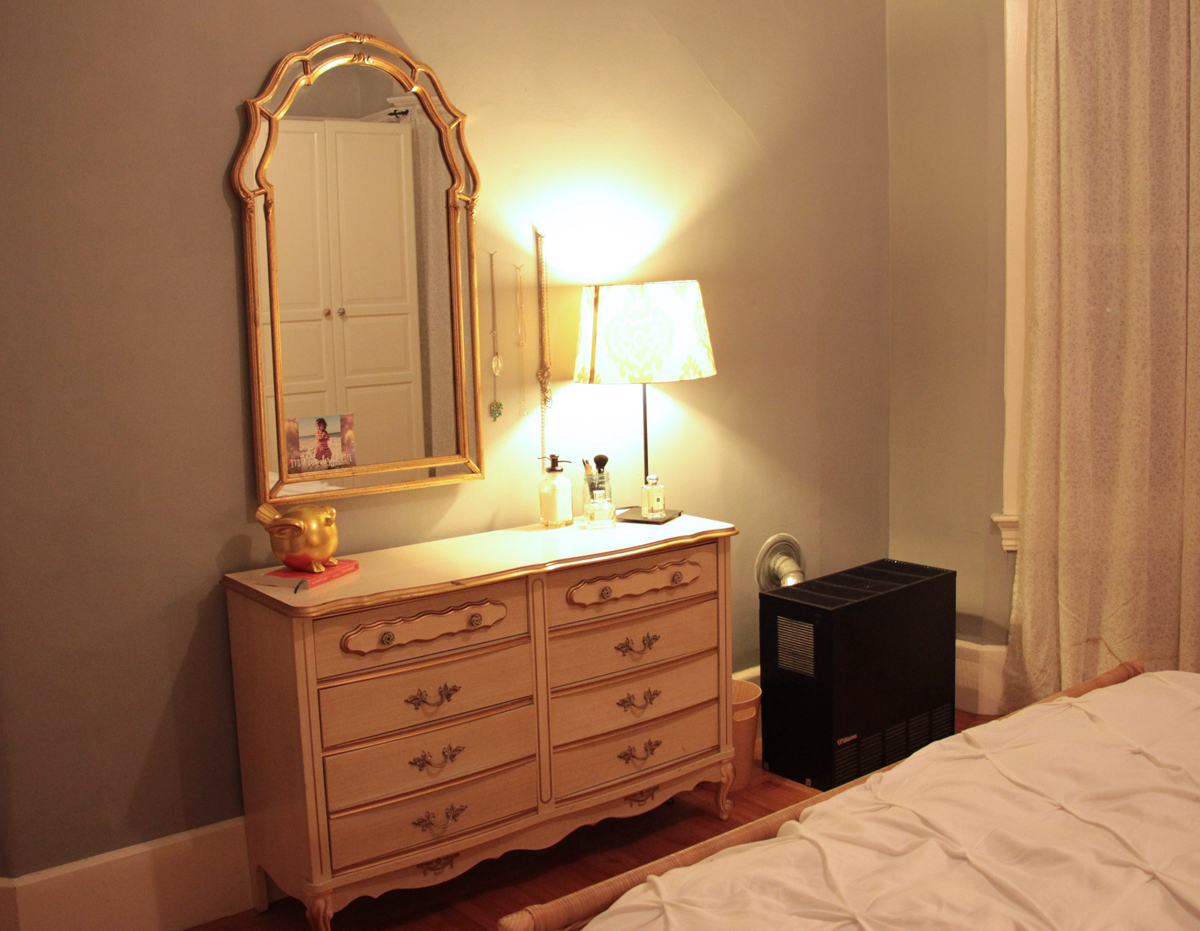
The dresser was also found second-hand at Golden Gate Mother's Group.  We love that our clients took to heart our design suggestions.  How beautiful is this space?!  And hardly anything in terms of baby furniture was purchased from the store.  It takes a little effort on the back end to find your second-hand resources, but the reduced price tag and earth-friendly satisfaction is well worth it.  

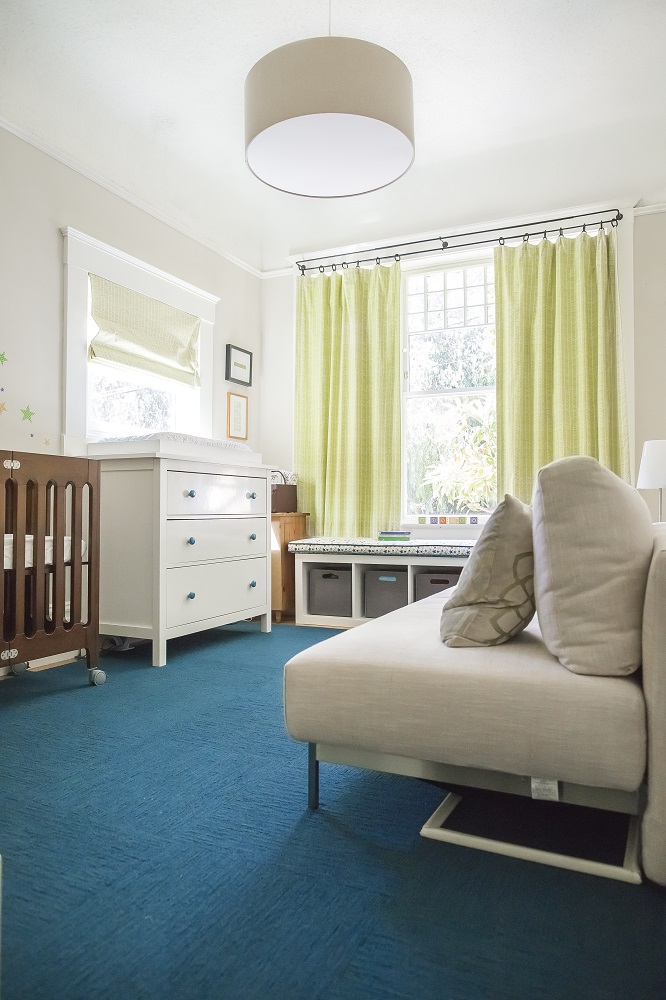
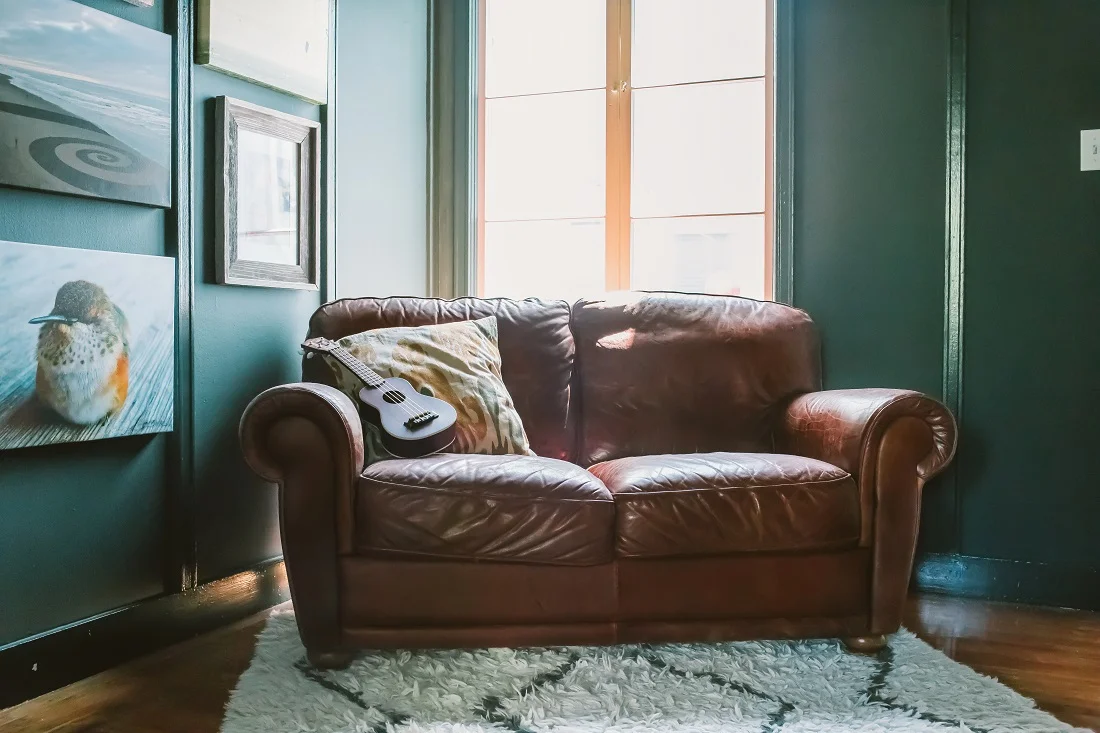
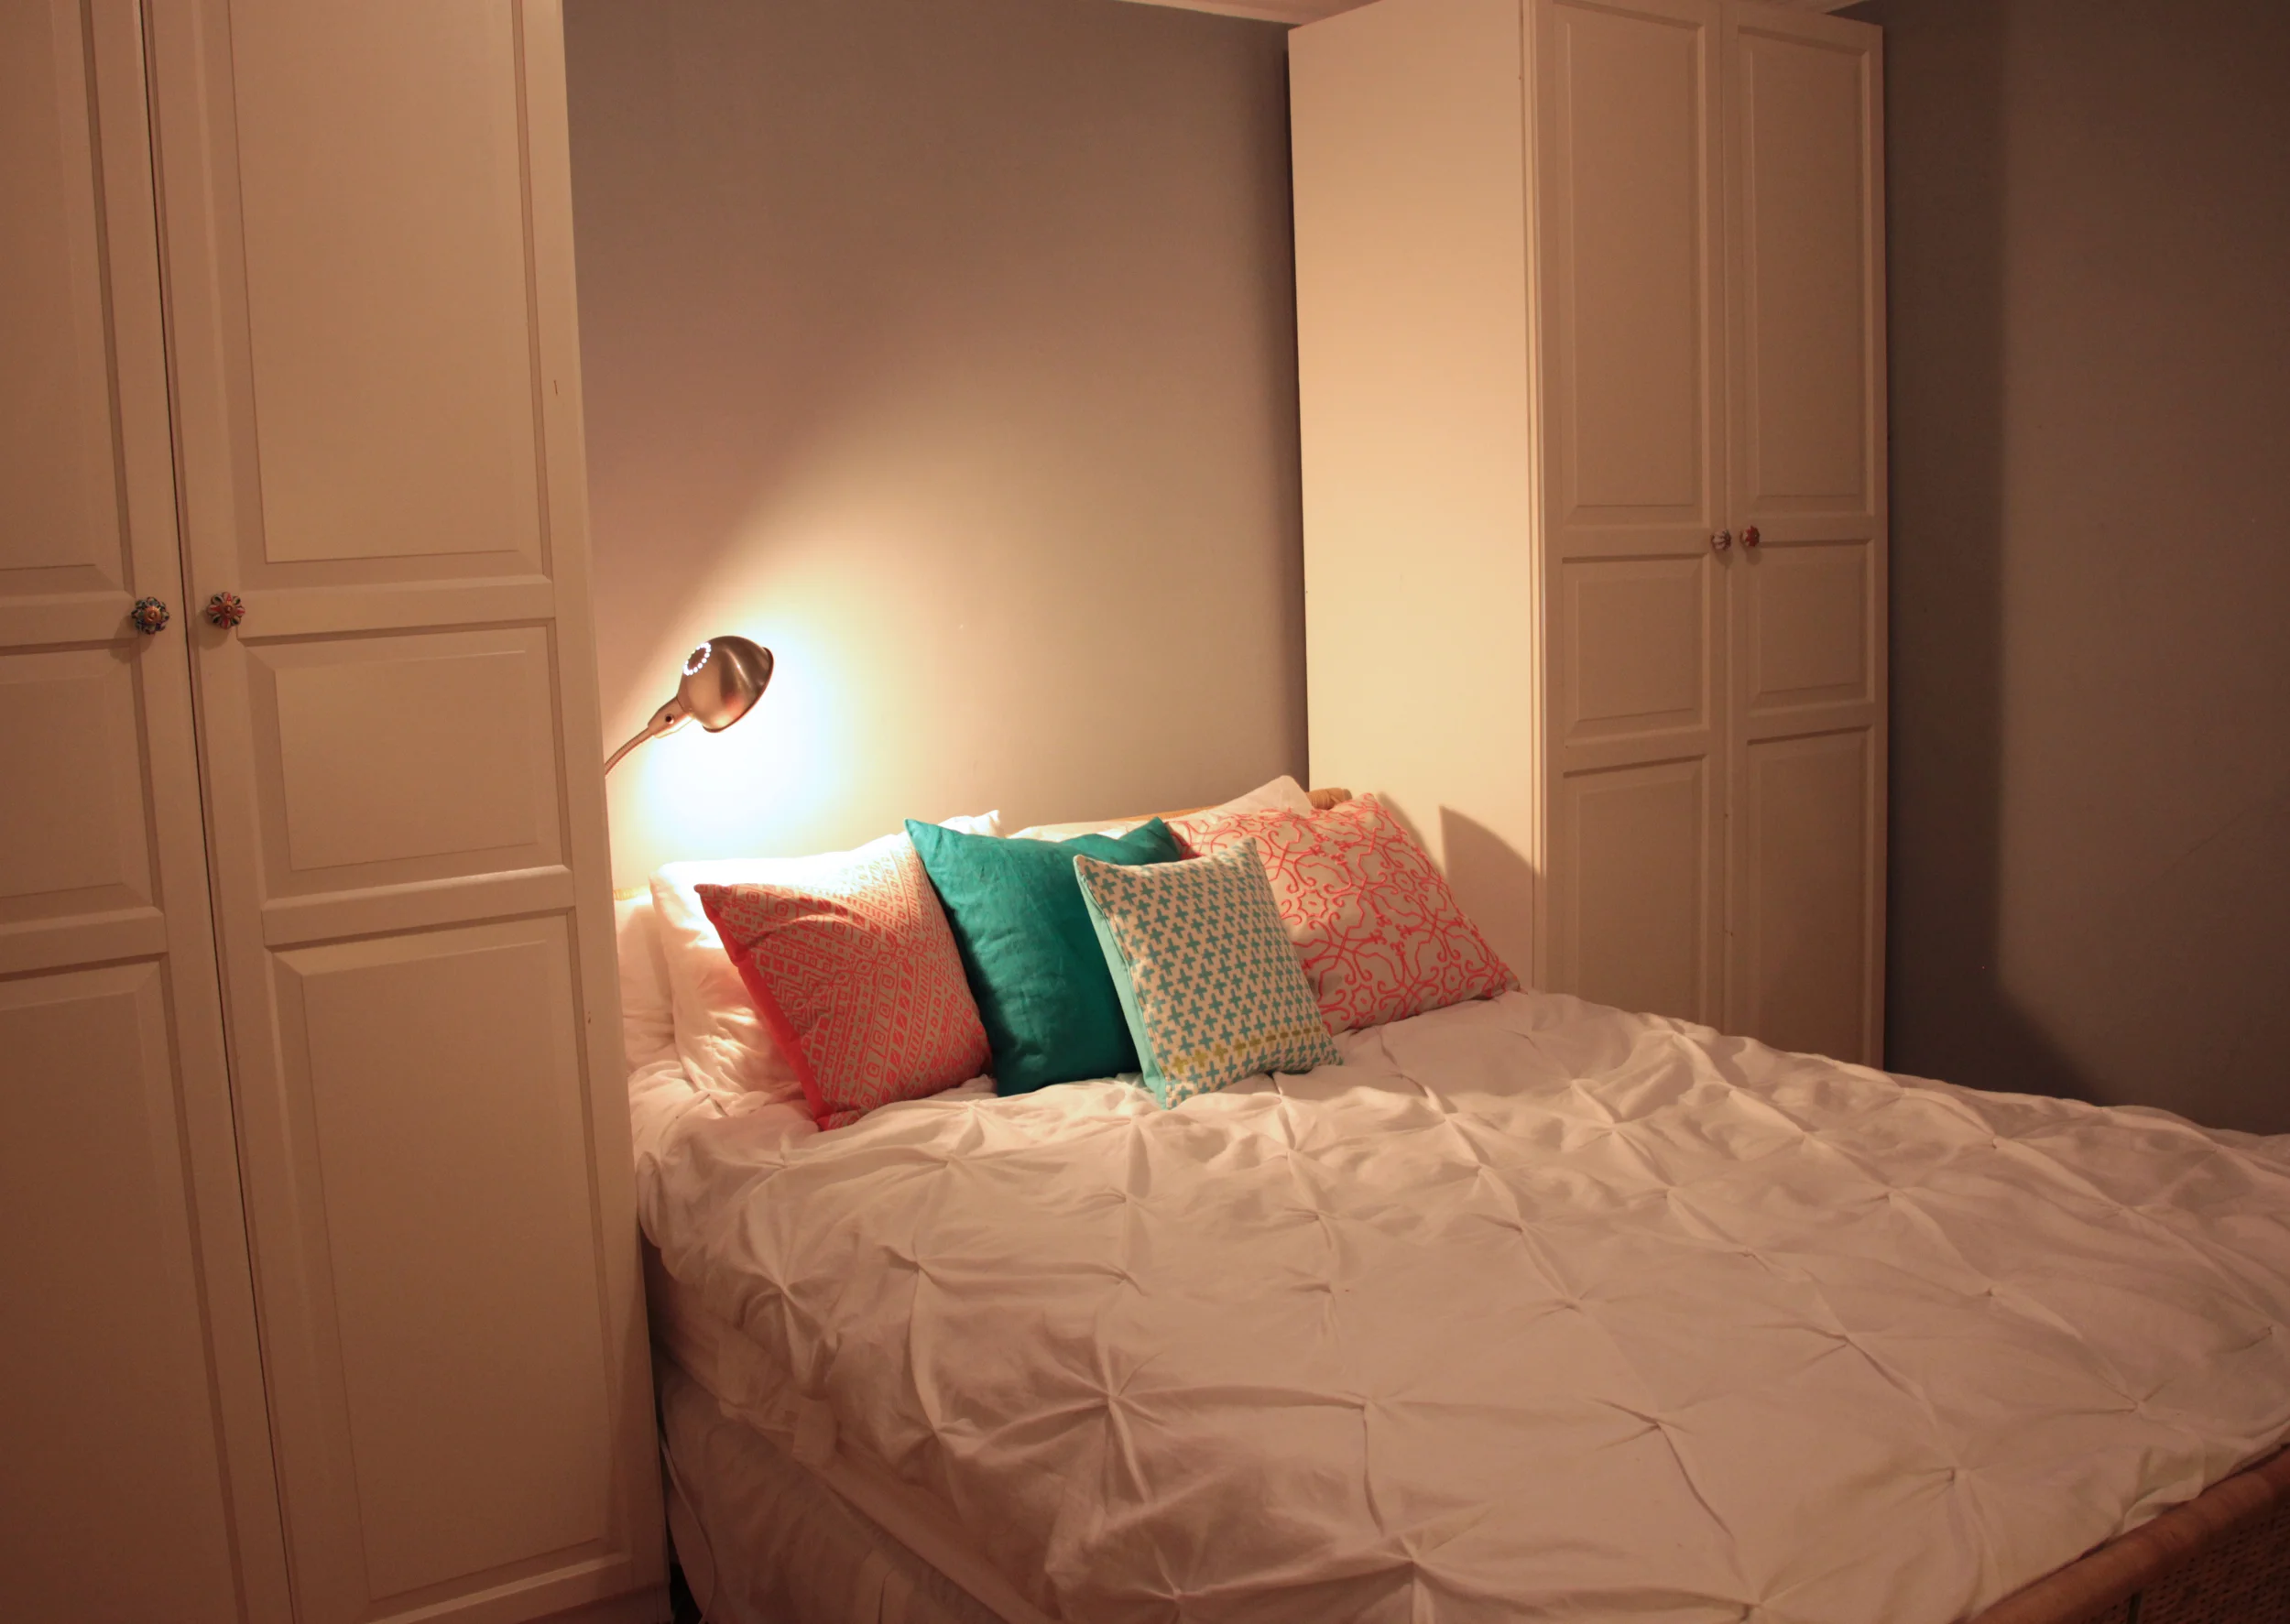
This gorgeous and serene space is a testament to our clients' laser-focus during our sessions.  With the second baby on the way, they were 100% ready to let go of the items that were no longer serving them.  And they have the closets to prove it!

The Power of Paint

Kyle, the other half of New Minimalism is here to welcome you to the Chill Zen Room.  Take off your shoes, kick back and stay awhile.  This is now clearly a room to relax and unwind, but it hasn't always been this way...

When Cary and Cam moved into their apartment, they knew that the small room connecting the kitchen to the living room had great potential.  Cam dubbed it The Chill Zen Room early on, but in practice, it was serving more as a glorified hallway.  Cary asked me what we could do to  define the room from the rest of the home, to make it a stopping point, rather than a thoroughfare.  After some thought, I determined it just needed a little extra pizzazz and some key furniture replaced.  Enter, painting project! 

Changing the paint color is a tried and true strategy to completely transform a space.  If executed correctly, it has a relatively low investment for a high reward. 

Above are before and after shots of the Chill Zen Room, as viewed from the kitchen doorway.  Looking through the space and into the living room beyond, you can see how the room integrates with the rest of the apartment.   By choosing a high-contrast color, you can't help but stop and linger in the room for a bit. 

Notice in the after photo, we chose two different paint finishes in the same color.  We painted the walls a flat finish and the trim a glossy finish to emphasis the difference in depth.

The dark, earthy color creates the perfect backdrop to display Cam's incredible photography. You can view more of Cam's work at his online gallery: Steep Ravine.  The brown leather and wood tones of the furniture strengthen the ode to mother nature.

 We all agreed it was time to replace the overstuffed, circa '94 cream armchair that had followed Cam from apartment to apartment.  After a few weeks of searching, we scored this super high-quality leather loveseat on Craigslist for less than $200!   We anchored the reading corner with the wool rug, and intentionally placed it on an angle for a causal air.

Remember when starting a painting project on your own: it is all about PREPARATION.  Have patience, as this takes some time.  But once you prepare well, then painting is a breeze.  (Tip: for the most eco-friendly waste, opt for old newspaper rather than plastic drop-cloths).

So go forth, readers, and embark on those bite-sized design projects that make a huge difference in your space.  

Even if you don't choose a completely dramatic color, paint has a freeing power, symbolic with a fresh start.  And we could all use a little refresh, now and then.


BTR: A Growing Family in Cole Valley (Part 1)

At last - we have another Behind the Redesign (BTR) to share with you!  

(Full disclosure into the BTR process: we love our work and we love sharing it with others.  But sometimes we love our work so much that we get caught up in the moment and forget to properly capture before and/or after photos.  So while we work with clients weekly, we do not write BTRs for every session.  Ok there, I said it.  Phew.  Now with that off my chest, let's dive in!) 

This BTR shares the story of an adorable young family we'll refer to as A & R.  We just can't get enough of A&R.  They have been adamant fans of the New Minimalism philosophy since the very beginning and we were so happy to have an opportunity to work with them.  

 A & R were due to have their second child in June however the third bedroom in their impeccable Craftsman home was dedicated as a home office.  We were approached for a specific job:  turn the home office into a nursery.  This meant we were tasked with moving a condensed version of the home office down to the garage, which meant....decluttering the garage!  I know, scary.  But with a little preparation, and the right mindset, a large project like this is definitely attainable.  

We broke the project into two day-long sessions: 

  • Day 1 declutter the garage to make space in the small basement room for the office; 
  • Day 2 address the contents of the home office, which we will detail in the next BTR.
TIP:  To prepare for a BIG decluttering session, research your local donation center options.  After viewing photos of the garage we knew that we needed a large capacity truck to haul away donations, so we scheduled a FREE pick-up with the Salvation Army.  They arrived on the afternoon of our session and hauled away all our donations.  What would have taken 5 trips to the donation center with the New Minimalism mobile was done in a few minutes by the gracious employees at Salvation Army.

During our session we learned that the garage had several functions:  laundry room, kitchen pantry, tool shed, family memento storage, and now home office.  In order to optimize all of these functions, we had to remove the unnecessary and rarely used items.

   Above is a view of the laundry and pantry corner of the garage.  Before (left) you can see that without a strategy, items became haphazardly mixed together, making it hard to keep track of inventory.  We separated the food and laundry zones by moving all laundry and cleaning supplies to the right side, near the laundry machines.  We kept pantry items on the shelving and designated the "wine cellar" in the back corner.

Yes, above is a before and after shot of the same wall!   As you can tell, with the baby due date looming, A&R were fully focused and extra motivated.  With Cary and I guiding the process, we were able to distill a mountain of family mementos (see cardboard boxes in Before photo) into small, manageable projects (see stacked plastic bins in After photo).  We repurposed the metal drawers to create a workbench for a "tool shed" corner.  

Here is a view of the small room that was to become the office (left).  Most of the items here were donated, with the exception of the baby stroller, which found a new home in another part of the garage.  The after photo (right) is after Day 2, when we brought down the home office equipment.  By hanging decorations, adding a clock and including a bright task lamp we created a rather cozy space.  Add an outdoor rug to further soften things up and A&R will actually look forward to doing their paperwork!

Here, another view of the office room from the second door leading into the small space.  The photo on the left was at the end of Day 1.  And the photo on the right is the finished product, after Day 2.  We distilled the office equipment to just the essentials and archived necessary paperwork into a filing cabinet.

Tip:  paperwork can be a session in itself.  If you are tackling a large room, don't get caught up in paper work, as this can be dense and discouraging.  First, tackle everything in the room that is non-paperwork.  Give paperwork decluttering it's own day, preferably with a paper shredder on-hand.  If you don't have a shredder, borrow one from your neighbor!  Sharing is caring.

Here is a view of the back of the garage after Day 1.  What was before mountains of mementos mixed with household tools is now a calm and collected space that A&R can access and use.

Stay tuned for the next BTR: A Growing Family in Cole Valley (Day 2), where you will see the finished nursery after A&R decluttered and decorated then using New Minimalism principles.

BTR: A Tiny Bedroom in Alamo Square

Welcome to the bedroom of client, "N".  Located in San Francisco's NOPA neighborhood, N has been living in the space for over 10 years (ahem, rent control).  She called New Minimalism because she was tired of feeling cramped, unorganized and overwhelmed by the things that had collected over the years in her tiny bedroom. Not to mention that N was recently engaged and was inspired to turn over a new leaf and refresh her space. 

The closet was a major source of frustration for N.  You can see in the before image (left) that it was pretty much unusable.  After 10 years of living a busy city lifestyle items had, well, accumulated.    Once the closet started to go down hill, the thought of cleaning it was too daunting for N and it quickly turned into a catch-all space.  In addition, the back of this closet has a deeper nook that, if you don't plan for, ends up becoming a trap for items to disappear... never to be found again (until we show up and start pulling everything out!).

The biggest design improvement here was removing the sliding doors (after: right image).  By doing so, we increased accessibility and unapologetically displayed the bright and beautiful clothes within. N has great taste and enjoys expressing herself through her fun wardrobe.  Granted the closet is small, yet we were able to hone down the clothing so that all of N's hanging garments had space in the closet while still making space for her fiance's coats.

Much of the contents that were hiding on the floor of the closet were donated, thereby opening up space to store shoes.  We carefully measured the space and included a tall and narrow shoe rack in the rear of the closet to store seasonal shoes (plus a pair of badass roller skates) in the nook.  The upper shelf became storage for R's work-related materials, N's winter accessories and purses.

Tip:  We start all NM projects by decluttering the wardrobe.  We love it so much, that we even created an Essential Wardrobe Decluttering Guide to share our process.

Above is a detail shot of the closet (left: before; right: after).  The top of the table kept N's makeup (silver box) and was a landing zone for work jackets (fuzzy draped sweater).  The shoes, not having space in the closet, gathered below the table. 

During the session, we learned that N has a very specific work wardrobe that is separate from her "play" wardrobe.  She has been working at her current job for six years and yet never carved out a space for her work-only clothing.  As such, it was easy for the work wardrobe to simply float about the room, getting lost or damaged in the process.  By removing the clothes N no longer used, we created space in four drawers of the dresser to contain all work clothing.  Now N knows exactly where her work clothes are, and if something is out of place, she knows where it should be. 

As for that silver makeup box, we decluttered the cosmetics that had expired, threw away the silver box which had seen better days, and repurposed the small 3-drawer stand as the new make-up holder.

 When we first came to N's room, various surface-level piles were the result of existing storage being over-stuffed and under-optimized.  The items N no longer needed crowded out the items that she used regularly.  By setting aside the time to declutter her clothing, N examined and shed the items that no longer served her in her current life and reclaimed the existing storage of her room.  

After two full-day sessions of decluttering, and the installation of some strategic hooks and shoe racks, we were able to transform N and her fiance's bedroom into a peaceful space; a space where they can come home after a busy day to rest and rejuvenate.

BTR: Creating a Home Retreat for a Traveling Professional

Room: Wardrobe (all clothing) and Bedroom

Hours to Complete: 10.5

Main Objective:  To open up floor space and lighten the feeling of the cramped room by removing duplicative furniture and clothing the client no longer inspired creativity or joy.

The Details:  Client K approached us to redesign her bedroom.  As with all bedrooms, we start with clothing.  Its a crucial first step because it illustrates how much actual storage a room needs, rather than what might appear necessary while the wardrobe is bloated with outdated and underused clothing.  

Thankfully, K already had plenty of practice creating what we call an Essential Wardrobe.  For work, K often travels to Europe for weeks at a time.  In living out of a carry-on suitcase, she was forced to distill to her most practical, versatile, and loved pieces.  Yet while she was able to travel with a select capsule, K's wardrobe at home still had an abundance of clothing that she was not longer using or inspired by.

In the before image, you can see that there are two large dressers in the room.  There is one on the left of the frame, and one near the windows.  We determined that it would be best for flow and the limited floor space to reduce the clothing so that we could remove one of these dressers.  Not all pieces of clothing can be hung or folded, and we knew that by removing one of these pieces, we would need to create drawer space elsewhere.  In the after photo, you can see how much bigger the room feels with one less piece of furniture.  Now K can easily access her windows and city views!

Above is a photo of one of the two armoires in the bedroom.  We decided to make up for the lost drawer space by adding a free standing set of Elfa drawers here.  Now workout clothing and undergarments have clear homes, extra linens are stored above, bags and scarves to the side.  

K placed two armoires flanking the head of her bed.  We all agreed the armoires added nice definition to the space and K liked the cozy sleeping nook they created.  However there were a few design and feng shui elements we needed to remedy.  

If you look closely in the before image, you can see that the bed was not pushed against the wall but instead had several suitcases and a full but unusable bedside table behind the headboard.  This ate into the already-tight floor space and not being against a wall creates a slight sense of unease while lying in bed.  We decluttered all the items under and behind the bed, finding new homes in the hall closet and in the newly decluttered dresser for the small group of keeps. 

For a finishing touch, we added custom cabinet pulls to the drawers.  This small detail had a huge impact of tying the armoires into the rest of the décor.

By thoughtfully editing her gorgeous shoe collection, we were able to easily fit all of K's shoes on her rack or neatly tucked in the base of the closet (rather than in a large pile like before).  The biggest difference to notice here is that all of K’s winter coats and long dresses now live here in a neat and orderly fashion.  By relocating her long hanging items to this closet, we freed space in one of the armoires to make space for a new shelving unit.  Plus, having her jackets close to entrance of the space makes for an easier transition out the door. 

This shot looks towards the entrance of the bedroom.  You can see the second dresser before was cluttered with daily-used items, and the back of the door was full of jackets and scarves.  We completely emptied this dresser and removed a the majority of makeup (which was expired or out-of-date) and donated a bag of costume jewelry and accessories.  Afterwards, this piece of furniture neatly housed all makeup, non-bathroom toiletries,and office-related materials. With the mirror now, the countertop is clear and able to serve as a proper vanity.

A final look at the beautiful space!

BTR: Hayes Valley Studio, Part II

2A.jpg

Room: Walk-in Closet (including Elfa installation) and Supply Closet

Hours to Complete: 8.5

Main Objective:  Customize the closet to serve multiple functions of clothing storage, dressing area, landing zone and art archival storage.

The Details:  The closet is a very important design element in any home.  If you can properly utilize closet storage so that it meets your specific needs, then the rest of your home will remain clutter free.  This was the main objective for our client, “M”, and we were so thrilled that she was willing to invest in customized Elfa storage to make it happen.

Having just moved from a large loft to a small studio, M was using the large walk-in closet as a temporary dumping ground for boxes of archived art and personal mementos.  The clothing had no storage option, so aside from the few items which were hanging, most clothing ended up in piles in the closet and in the main room.

After understanding M’s habits and storage needs, we determined that a custom Elfa storage system would work best here.   That way, we could use half the closet for clothing and the other half for archival art and office storage.  Elfa is a sturdy, well-designed product we truly endorse!  We even have some clients who have successfully taken their Elfa systems to 3 different homes. 

Tip:  You must first declutter before diving into the Elfa game.  Knowing specifically what items need storage will determine what type of system you invest in.  Know your needs before entering the Container Store.  Elfa designers at the Container Store are trained to maximize your space.  If we had approached an Elfa designer without a plan, we would have ended up with twice as many drawers and wasted time with a second trip to the store to return unused merchandise.

Here we implemented simple pull-out drawers to hold all M’s folded clothing.  We included a top shelf to act as her dressing area and a designated place to corral keys, jewelry and sunglasses. A few hats easily hang from simple nails in the wall.  To the right of the frame we placed M’s coat rack and installed a few hooks.  Whereas before all of M’s currently in-use bags and jackets ended up on the bed or couch, now with an official “landing zone” these items won’t make it past the closet, leaving the main living clutter-free.

Tip:  To add some personality we hung artwork that M really loved but didn’t have an appropriate home in the main living area.  A closet is a great place to show off pieces you love, but that don’t necessarily reflect the vibe of your entire home.

Located across the hall from the walk-in closet is a skinny supplies closet.  Before the decluttering it was serving a few too many purposes.  We determined that M first and foremost needed a place for her quick-grab art supplies and a place for sensitive documents in the event she is hosting a short-term rental and wants to lock items away.  We designated most of the shelving for this purpose.  And we used the top shelf for towels and seasonal blankets.

​Tip: Rethink what items you decide to put in each storage area of your house. Just because you have a “household supplies” closet does not mean you have to store household supplies there. For our client who regularly creates art, it meant primarily using this easy-to-access closet for her art supplies.

Finally, curious about what happens in between?  Here is a behind the scenes photo of the sorting process in all its beautiful chaos. 

BTR: An Adorable Hayes Valley Studio

Hooray, another Behind the Redesign!  Thank you for being so patient, dear readers.  We had a BTR hiatus this past season due to a series of confidential projects.  We are excited to kick-off 2015 with some new content and, of course, tips for you to use at home.

Room: Bedroom/Living Room

Hours to Complete: 8.5 (Day 1)

Main Objective:  Transform the layout of the room to establish distinct and optimized areas for sleep, entertaining, and creating art.

The Details: Our lovely client, “M”, landed in this charming Hayes Valley studio by way of karma-heritance (that's our way of saying this positive karma-related inheritance).  Wanting to adopt a simpler lifestyle, M decided to downsize from her large loft in SOMA.  Coincidentally at the same time, one of M's co-workers was relocating to New York, leaving his perfectly-sized apartment.  With this transaction, M inherited several pieces of furniture, but she also inherited a less-than-optimized furniture layout.  A small space with too much stuff and an awkward furniture layout?  New Minimalism to the rescue!

Over 2 day-long sessions (18 hours total), we worked swiftly to create a serene and comfortable home, one that reflected M’s dynamic personality: creative, open, approachable and intellectual.  Session 1 focused on the bedroom/living room, and Session 2 tackled the large walk-in closet, as well as a utility closet.  Today's Behind the Redesign will focus on Session 1, the bedroom/living room.

Windows: Before // After 

We knew right away that we wanted to move the bed away from the windows.  Resting your head against a solid surface is important for deep sleep.  When you sleep with your head against a window it is almost like sleeping against a door, the reptilian (think Neanderthal) part of your brain subconsciously stays alert to outside noises so that you will be prepared to defend yourself.  So, first order of business was swapping the bed and the couch.

Tip: Is the head of your bed against a window or a non-functioning door? Look around your room and reevaluate the position of your furniture. Is your desk, which actually only functions as a drop-all space, taking up the best wall in your room? Or perhaps you can condense your clothing into a capsule wardrobe so that it fits entirely in your closet and you can donate your dresser? Whatever you decide, make sure that your bedroom functions firstly as that, a BEDroom. And give that bed the best wall in the room. To get extra fancy, Feng Sui recommends that you are able to view the entrance of your room while lying in bed.

The existing couch was extra-long, so when we moved the couch into bay window, we placed it on a slant in order to decrease the amount of dead space between the window and the back of the couch.  This, we surmised would be a temporary solution, recommending that our client replace the couch with one that would better fit into the window alcove. 

However as we worked within the space, we realized there were a lot of benefits to placing the couch on a slant.  By angling the couch towards the bedroom, we drew the couch-sitter’s attention away from the entry hall and the kitchen, creating a conversation area with the base of the bed and the new-and-improved music corner.  Other benefits of the current couch:  the extra-long couch worked great for our extra tall client, structurally, it was super solid and in great shape, and we all agreed that the draped fabric lent positively to a casual, comfortable vibe. 

Tip: Add texture and warmth to a minimally-decorated space using fabric, blankets and pillows. Here, a drapey fabric covering contrasts well with the bare hardwood floors. If you are working with a textured rug, balance it with clean lines with the furniture.

Accent Wall: Before // After

With this redesign we were lucky that M already had these perfectly proportioned and matching side tables, adding some nice symmetry to the general eclectic vibe.  We also scored with the charcoal accent wall.  This wall helps to define the sleeping area, signifying that it is separate from the rest of the space.  With the two table lamps, the contrasting shapes add interest, while unified color keeps it, well, unified. 

As an artist who gets fully-absorbed into projects and then moves on to the next, M did not want to adorn her walls with art.  Over the bed we chose to hang a series of simple line drawings to stand out against the charcoal, neutral enough that M would not tire of looking at it. 

Music Nook: Before // After 

Music is an important part of M’s routine.  Whenever she is home she is sure to have some pleasant tunes playing the background (M even introduced us to FIP, our new favorite radio station out of Paris).  So with this design, we wanted to ensure that she had easy access to her speakers.  We also wanted to make order out of a mess of cables. 

Enter, amazing large leaning mirror that was karma-herited.  If you don’t already know, we are quite fond of large mirrors.  When positioned strategically, they reflect light and can feel like another window.  Added benefit: when placed on the floor to lean, they can hide those unsightly cords and cables.  So that is exactly what we did here.  And I think it is worth noting that opposite there was a wall that was perfectly sized to fit the mirror, but if placed there, the mirror would reflect the white wall - booooring.  By placing the mirror on the wall opposite the light and bright kitchen, you extend the eye and draw some of the brightness into the bedroom.

Tip: When using a large mirror in your space, make sure to consider what is in the reflection. Are you opening the space by reflecting other bright, airy spaces? Play around with placement. As the sun light changes throughout the day, maybe you will discover something new about your space that you would like to highlight. Not into the idea of always seeing your own reflection? Look for a distressed mirror with a patina over the glass so obscure the reflection.

Overall we were quite thrilled with the results of this decluttering and redesign.  We donated two carloads of items to the Goodwill and local library, in the meantime creating a calm, inspiring sanctuary for M to enjoy. 

Up next on BTR:  The fancy closet system we custom designed and installed to house M’s clothing and art archives.

5 ways to personalize a rental (and still get your deposit back)

Many of us understand that while renting does have its benefits, one of the “cons” is that any demolition or major changes to the space are usually out of the question.  With this post I hope to embrace the rental and detail ways to add personality to your space without having to pay out of your deposit.

1. White walls are the perfect backdrop for colorful art.  Don’t be afraid to put some (small) holes in the wall to hang your art or shelving.  Fork up $3 for some spackle at your local hardware store.  This handy little white paste easily hides nail holes when it’s time to move out.

2. Make unexpected art from paper items.  Paper is inexpensive and easy to hang.  Check out the stores in areas like Chinatown or Latin American districts – stores in these areas usually sell an abundance of paper goods that can double as décor.   You could even check out your local party store for unexpected inspiration.  Because everyday is a party, right?  Suspend a flock of lanterns, or in the case of my home, paper puffs.  Monochromatic is extra powerful.  I also use postcards as a rotating mini gallery on my refrigerator. The nice thing about paper is that it is not so precious.  It opens up a lot of possibility and can even be recycled when you’re ready for the next thing.  

3. Select a few small walls to use for an accent color.  Be strategic here so that the wall has visual impact, but is small enough so that it is easy to paint white again at the time of move out.  The wall I chose to paint pink has a white piece of furniture in front of it.  This contrast helps the furniture pop against the background.  I also did the opposite to my kitchen island and painted the base a dark brown, so that it would recede from the eye.  I used the same pink to paint a third accent wall as you enter the bathroom.  Here, the small touch of the string of black (paper!) flags makes the act of entering the stark white bathroom almost ceremonious.

4. Do not underestimate the power of task lighting.  Task lighting is basically a fancy way of saying lamps.  I think it might be impossible to have too many lamps.  They add instant mood and ambiance in what might otherwise be a fluorescent-lit, crumbling apartment (I’ve lived in my fair share).  In my current, thankfully non-crumbling space, I use inexpensive rope lighting to create a backlit effect behind my console.  Since this sits against the pink wall, it has the unexpected benefit of creating dimension, fading from orange to pink when illuminated.  It’s like a sunset every night in here!

5. Plants make a big difference with air quality and all around hominess.  If you have the sunlight, by golly use it!  If you are afraid of your black thumb, start with just one easy-to-care for plant and slowly build your mini indoor jungle from there.

So while renting may have its woes, there are lots of ways you can get creative.  I hope that you can use these simple tips to have a big impact!   And please, don’t be afraid to send your decorating questions my way: kyle@newminimalism.com

BTR: Downsizing from 3,200 to 800 Sqft.

Room:  Kitchen

Hours to Complete:  7.5

Main Objective:  Coming to terms with the size of the new space and simplifying our client's personal list of hobbies and specialty crafts. 

The Details:  Oh yes, we're back with some seriously gorgeous photos of our most recent client, N.  We had the pleasure of giving a major NM overhaul to most of her sunny one bedroom Marina apartment.

While the apartment itself was beautifully updated and has plenty of built-in storage, our client had recently downsized from a 3,200 square-foot home to an 800 square-foot apartment.  Like many people making big moves, work and life responsibilities seemed to take over and she never had the time fully purged her belongings to match her accommodations. 

Over the course of three days we tackled the Office Nook, the Bathroom, the Kitchen and even had a little extra time to tackle the petite Entryway. To date these were some of our most ambitious and exciting projects, primarily due to the  sheer number of items we processed. 

A note on downsizing + self-love:

Though there is room for N to continue releasing items, we know that Space Clearing is a deeply emotional process.  For anyone going through a large downsizing, it can be helpful to process items in stages.  This is so you don't get too worn down and so you don't feel like you are suddenly letting go of everything you own!  

In this initial stage we were able to downsize to the point that every item had a place to call home.  Our goal for the next stage is to even create greater organization and spaciousness by releasing items that are out-of-date for N's current lifestyle (foods from out-of-date eating routines and large, unfinished projects and crafts) and letting go of items that simply do not fit in her reduced living space.

Overall, N's home is a huge success.  It's a seriously big deal to part with several truckloads of items all within a few days.  What impressed me most about N was her willingness to release old items from her space so that she could make room for some new (BIG) relationships and opportunities to enter her life.

If I could sum up our biggest lessons from N's home it would be this:

  1. Moving is an amazing chance at a fresh start -- but that doesn't mean it's easy.  Whether downsizing, moving across the country for work, or just across town to be with your partner it's a big step.  Allowing your new home's size, inhabitants, and personality to dictate what stays and goes will keep you feeling light and fresh.  Prevent overwhelm by enlisting the help of friends and professionals.
  2. Clearing off counter tops and visible surfaces can change the entire feel of a home AND the way you feel in it.  Take a few minutes every evening to remove items from your counters and tables.  It's surprising how different it feels to wake up in a home that is clean and light versus one that is cluttered and unfinished. 
  3. Give it time.  Throughout this process N did a great job of giving herself room for her feelings "percolate."  After a few days away from the process N was always able to release more and feel better while Clearing.  If you're facing a big project like downsizing or moving in with a partner, be sure to give yourself plenty of time away from the project to keep your perspective and attitude fresh and optimistic!

BTR: Duboce Park Entrepreneur's Kitchen

Room:  Kitchen

Complete: 6

Main Objective:  Removing unused appliances and optimizing the layout for creative and consistent cooking. Also creating space for others to be in the kitchen with the cook.

The Details:  This is the 3rd of a 3-part series. Check Part 1: Bedroom and Part 2: Livingroom.

While C is an amazing cook with an even better selection of whiskey, his kitchen was not living up to its potential. You can see that the counters were crowded with everyday items, because the cupboards were filled with many items he no longer used. 

Before:  Cluttered counters make both prep and cleaning a struggle.

After: Counters are reserved for only the most used items, making prep and cleanup a breeze.

Decluttering Tip: As any seasoned chef will attest, counter space is pivotal to a well-functioning kitchen. After going through hundreds of items in the kitchen, we donated over 50% of the cupboard contents. That freed up space so that the counters could serve as prep space. 

In the corner he had a bar hutch that was devoted to his whiskey collection. And while inside it was brimming with some of the finest selections, the top was cluttered with everyday kitchen items. 

Before:  The surface of the bar is covered in excess kitchen tools, making C's favorite spread of whiskey's challenging to access.

Before:  The surface of the bar is covered in excess kitchen tools, making C's favorite spread of whiskey's challenging to access.

We cleared the top and removed the bar and brought it to the living room. With the desire to have others in the kitchen while he cooked, we suggested C fill the empty corner with a small round table and chairs, at counter height. 

Redesign Tip: Whenever you have seating in the kitchen, it usually feels more comfortable to have seating at a similar height to those standing in the kitchen, otherwise it feels as if those standing are towering over those sitting. 

Before: Cluttered counters...

After: C's kitchen is transformed into an airy, spacious and highly cooking-friendly space.

While we couldn’t do anything about the water heater, we could clean up that corner so that the counters were clear of oils and vinegars. 

We kept C’s most-used oils near the stove, and edited the rest to fit into the spice cabinet that was previously overflowing with spices that were past their prime. We removed the microwave and toaster from the counter by the oven to let more natural light in towards the stove. C said he rarely used his microwave, so we decided to test how important it actually was by stashing it in the closet. 

Before:  The little prep space there was next to stove is dominated by rarely used appliances.

After: The stove now has it's own prep area, holding only C's most used tools and oils.